Microsoft is really in the market with its new Windows 11. They have recently declared that they will give their users the hospitality of using android apps on their PCs. Eventually the company is not in that stage where they can make this feature available right now. Because it is obvious that as all the updates this update also might contain several bugs. To clear this bugs out Microsoft has now made its preview available for beta users and for those users this is the guide of installing the program properly. This article will help you installing the android apps on your PC.

Table of Contents
Overview
Microsoft promised their users, that soon they will be able to install android apps on their PCs if they are one of the beta users. So let’s see how to install all the android apps in your Windows 11 Device.
The beta users with Intel, AMD and Qualcomm processors as well as Windows 11 can now install the android apps directly from the Microsoft Store. Although there are very little amount of applications those are available at Microsoft store. But Microsoft has promised that they will add more to it in period of time. See you can trust Microsoft in this one because they are very good at keeping their promises.
It is notable that the apps are only available through the beta channels only on Windows 11. To add more it is suggested that you change your PC location to US for this process because this is only available for Windows 11 beta users of US. There are some prerequisites for installing the Android apps on Windows 11.
Prerequisites for installing the Android apps
- PC must have the latest windows 11(Build 22000.xxx series builds) and also meet the hardware requirements which include 1 GHz or faster processor, at least 4 GB RAM, 64 GB or more storage and High Definition display with 720p resolution and 9 inches diagonally, among others.
- It is assumed that you might have to enable virtualization of you Personal Computer’s BIOS/UEFI. If you do not know anything about this, just don’t worry. Go through the article which is suggested below(At the end of prerequisites). Which is the solution to your problem and will help you enabling it. Keep in mind that it is an official article for enabling virtualization from Microsoft itself.
- You must make sure that you have Microsoft Store version 22110.1402.6.0 or higher. If you have not the required version you may just simply update it by checking for the update in the library and clicking the “Get Updates” button.
- It is essential that your PC is in the beta channel and set to the US location.
- Microsoft has also now merged with Amazon App Store and for accessing it you must have an Amazon US account.
Bonus: For better performance of Android Apps on your Windows 11, you should enable Virtualization on your Device. Checkout our comprehensive guide on Enabling Virtualization on your Computer!
If you are ready with the prerequisites then now is the time when you may install the apps from the steps given below.
Install Android Applications on Windows 11 with easy steps
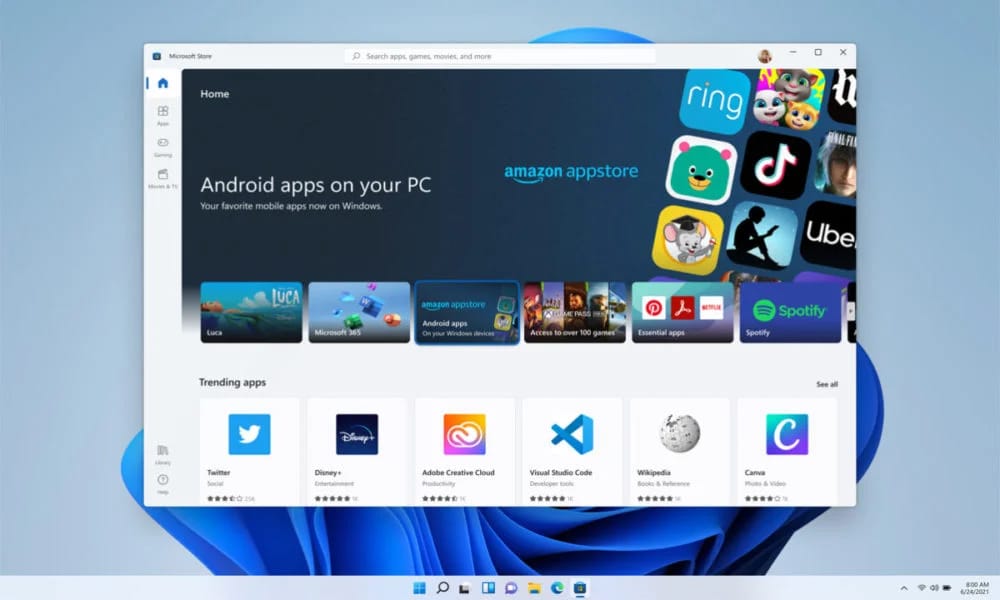
Step 1: If you have already met the prerequisites then on your windows PC, you can now open the Microsoft Store and search for the app you want to install.
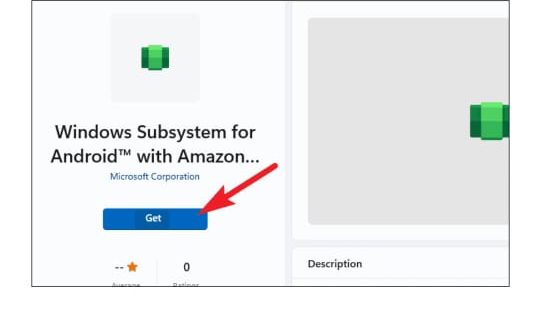
Step 2: There is one more way to do the step 1, you can also go to the Windows Subsystem for Android web page. On this page you will have to click on the Get button on the right side of the page. If you already have installed this you will not have the Get button, it will show the Install/Open button instead.

Step 3: Here, the menu for windows subsystem for android will show up in Microsoft Store app.

Step 4: Now all you need to click the install button/get in the Microsoft Store app. You will see an overlay menu with all information about the Amazon App store.
Step 5: Click Next on the overlay menu of the Amazon App Store.
Step 6: There will be a Download button on that overlay menu, click on it.
Step 7: After downloading it click on open Amazon App Store.
Step 8: You will have to sign-in or create an account on the Amazon App store.

Step 9: Once you have installed this you will see a list of the android apps those are available for use on the Windows 11 PC.

Step 10: It is easy to install it now. You will just have to get down to the application that you want to download, and click download or confirm on it.
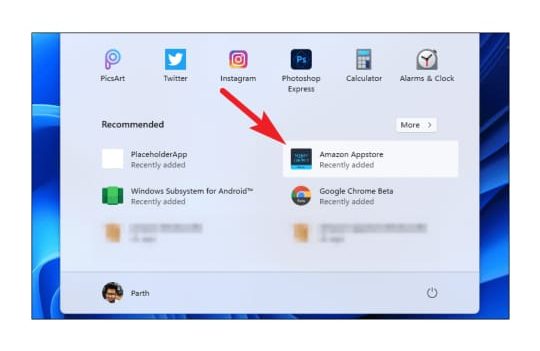
Step 11: This will start downloading the application and you may access it from the start menu or Windows Search.
We are not all done here. We are about to introduce some 3rd party application (Emulators) where you may able to run android apps on your Windows 11.
Conclusion
These steps will really help you through the downloading the application(Applications those are available on Windows 11 right now). As of now there will be not many applications available but you will be satisfied with the applications which are available. Keep in mind that you will have to follow the exact steps which are mentioned above. Do not skip any step from it otherwise you will have a problem.
If you are still facing any kind of issue while downloading the applications you want, just comment down with the description of your problem. We will help you through with it.
