
If you are facing the Cyclic Redundancy Check Data Error then this article is for you. Due to this error you won’t be able to access your important files nor your storage device. Unfortunately, this is a very serious error in Windows so you need to quickly resolve it with proper method. Don’t worry we are here to help. In this article we will tell you How to Fix Cyclic Redundancy Check Data Error without any complications.
[toc]
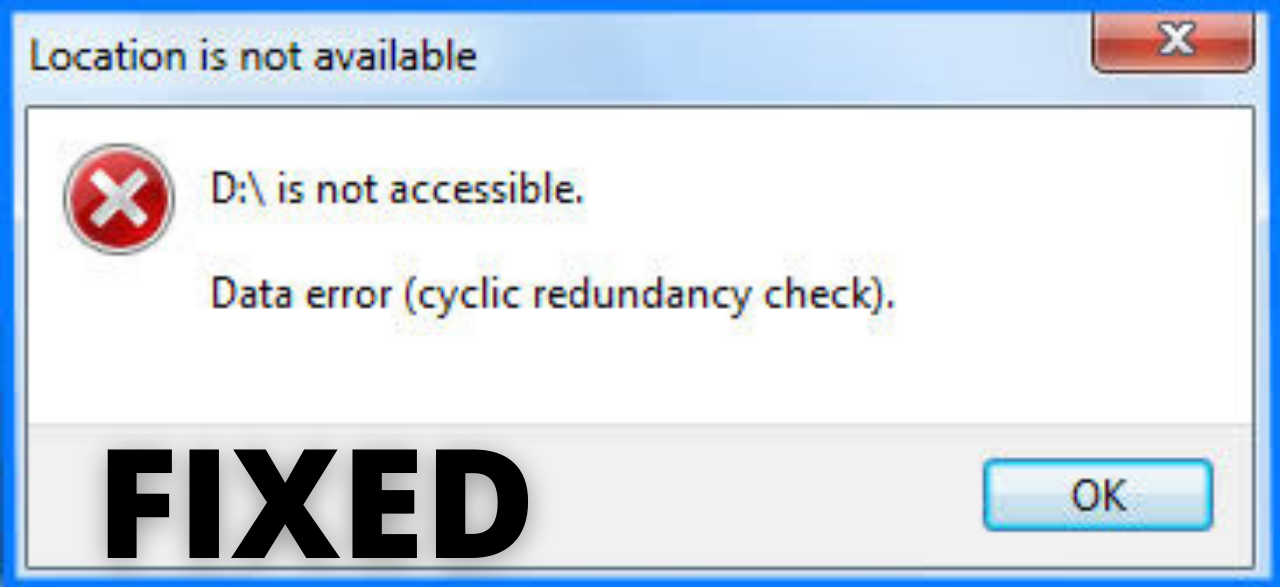
What is Cyclic Redundancy Check Data Error?
Before, we tell you effective solutions for this problem let’s first understand what is the meaning of this error. Cyclic Redundancy Check is basically a error checking method used by your computer to check data on your hard drive and optical disk (DVDs, Blu-ray disk, CDs). The Cyclic Redundancy Check happens when your computer is unable to verify the data on your disk.
CHECKOUT – [FIXED] Windows 10 KB5003173 Update Fails With Error 0x800f0922
Causes of Cyclic Redundancy Check Data Error
There is no specific cause or reason behind this error. You may get this error because of various reasons like:
- Cluttered Hard disk
- Registry file corruption
- Corruption of your Hard drive
- Unsuccessful program installation
If you don’t know the specific reason behind this error don’t worry. We have mentioned all the solutions in a simplified manner. We want to warn you that this error can delete your data permanently. So, you need to resolve this error as soon as possible.
Method 1: Run a CHKDSK Check
This method has helped most of the people to resolve the ‘Data error cyclic redundancy check’. Basically, CHKDSK will help you to check the integrity of your hard disk and will also fix system errors on your computer. Follow the steps given below:
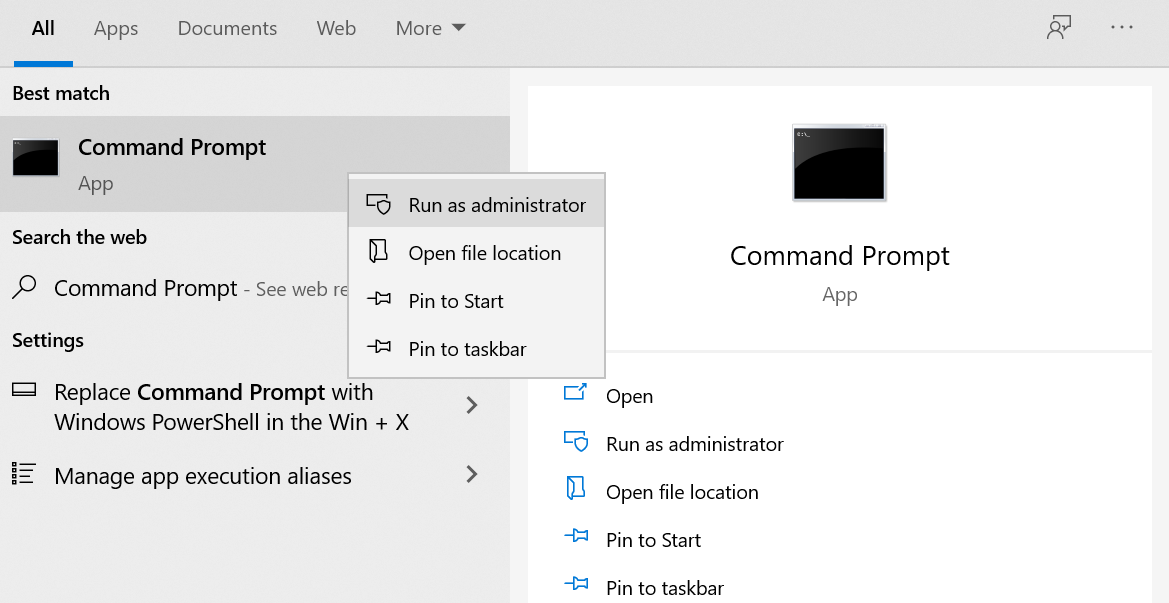
- Type Command Prompt in your Windows Search Box.
- Right-click on the top result which appears on your screen and select the Run as Administrator option.

- In the command prompt type: chkdsk /f x (Replace the x with the drive in which you are facing this error)
- Let’s say I am facing this error in D Drive then I would type: chkdsk /f d and then Press Enter Key.

- Wait for few minutes. The process may be a bit longer if there is a problem on alot of files.
- Once the process is finished you need to Restart your computer.

Check if you still face the error when you open your files. If you are able to access the data then copy the data and store it in some safe location. But, if still you get the ‘Data error cyclic redundancy check sd card’ then follow the next method.
ALSO CHECK – How to Fix “Critical Structure Corruption” Error on Windows 10?
Method 2: Run SFC Scan
System File Checker(SFC Scan) is a very helpful in-built Windows tool. It will help us to repair system files including registry files, DLL files and other protected files. Corrupt files on your computer can cause you the Cyclic Redundancy Check Data Error. SFC scan will fist find the file issue. Then it will replace the damaged or corrupt file with a new one. To run SFC Scan safely on your computer follow the instructions given below:
- On your Windows Search Box type cmd and right-click on the top result and select the Run as Administrator option.
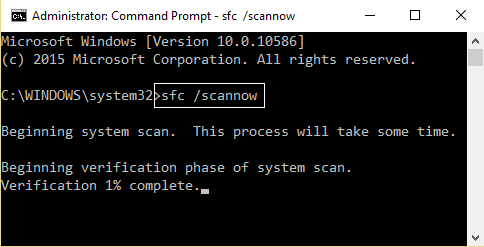
- In the command prompt you need to type this command: sfc /scannow and press the Enter key.

- Windows will start scanning your computer.
- The process might take 10-20 minutes depending upon the size of your files.
- Once the process is done Restart your computer.
Method 3: Perform Disk Scan on your Computer
The Disk Check utility is a another handy tool which helps you to fix file system errors. This will help you to resolve the Cyclic Redundancy Check Data Error.
- Right-click on the drive in which you are facing this error.
- Then choose the Properties option.
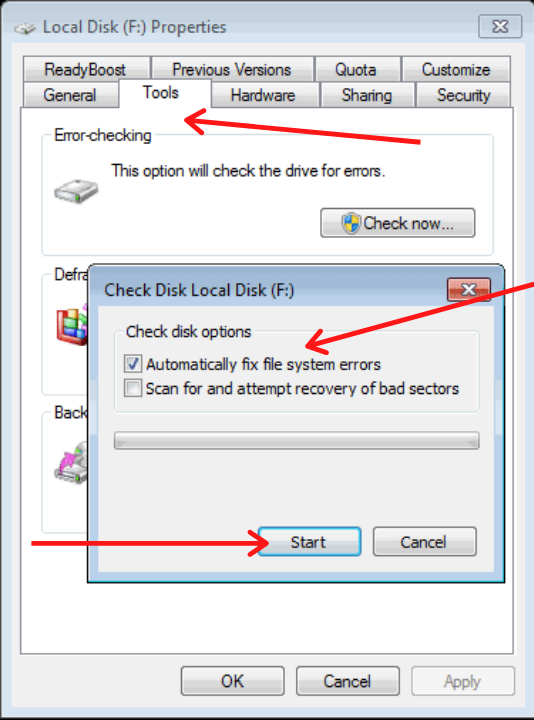
- Click on the Tools Tab which is available on the top.
- Finally, click on the Check now Option.
- Then you need to click on Automatically fix the file system errors and hit Start.

- Once the scanning process is done Restart your computer and check if still the problem exists.
YOU MAY ALSO LIKE – How to Fix Laptop Is Plugged In Not Charging Issue?
Concluding…
If still the error is there in your computer then you need to take the backup of your files and format your hard disk. This is a very extreme step so, only do it after trying the 3 solutions mentioned above. Do tell us in the comments section which method helped you in resolving Cyclic Redundancy Check Data Error. If you know any other method then write about it in the comments below. If you were finding it difficult to follow the steps then you can write your query in the comments. We will surely respond back with a solution. We hope that this article was helpful for you.