
Many people are facing the Ethernet doesn’t have a valid IP Configuration Error on their computer. Due to this users are not able get access to the Internet. In today’s world, every work is done on Internet and because of this error you cannot do alot of things. This error is very frustrating and serious but don’t worry. We are here to help you. In this article we will tell you How to Fix Ethernet doesn’t have a valid IP Configuration Error.
[toc]
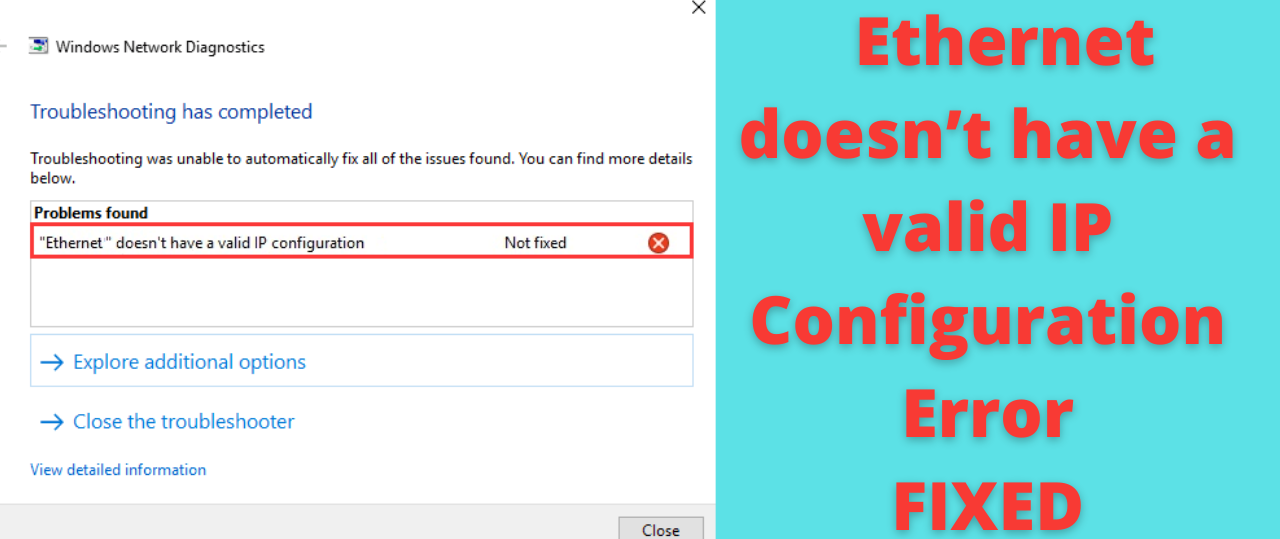
What is Ethernet doesn’t have a Valid IP Configuration Error?
Your computer needs an IP (Internet Protocol) address in order to connect with the Internet. This address helps in identifying a device on network and is used to communicate with Internet or other devices. You will get the ‘Ethernet doesn’t have a valid ip configuration unidentified network’ when your Ethernet connection is not able to receive a valid IP address. Due to this you are not able to connect with the Internet. You can get this error because of incorrect network configuration, corrupt or damaged network adapter drivers or a faulty router. We have mentioned all the effective solutions for this error in a simplified manner.
CHECKOUT – How to Fix “Critical Structure Corruption” Error on Windows 10?
Method 1: Restart your Computer and Router
This one is a very simple and fast solution to fix this error. Many people were able to fix the Ethernet doesn’t have a valid IP Configuration Error easily with this method. First, Restart your computer. Then you need to Restart your Router or Modem. To do this follow the steps given below:
- Unplug your modem or router.
- Leave it unplugged for 5-10 minutes and then plug it back on.
- Now, hopefully this error should get resolved.
Don’t forget to check the ethernet cable which you are using. If still the error is there try using a different ethernet cable.
Method 2: Disable Power Management Settings
Some power saving features on your computer can prevent the network adapter from functioning properly. To resolve this we need to disable the power saving settings which are specifically there for Network Adapter.
- In the system tray which is available on the bottom right-click on the Network Icon.
- Click on Open Network and Internet Settings.

- On the bottom click on Change Adapter Settings option.

- Right-click on your internet connection and click on Disable option from the drop-down menu.

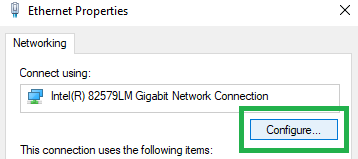
- Once again right-click on it and select Properties.

- Hit the Configure Button.

- Click on the Power Management Tab.
- Now, you need to uncheck the Allow the computer to turn off this device to save power option.
- Click on OK to save your changes.
- Right-click on your Internet Connection again and click on Enable.
- Your Ethernet doesn’t have a valid IP Configuration Error should get resolved.

ALSO CHECK – How to Fix Kernel Security Check Failure Error in Windows?
Method 3: Disable the Fast Startup Feature
Disabling the Fast Startup Feature might help you to resolve the Ethernet doesn’t have a valid IP Configuration Error. Follow the steps given below:
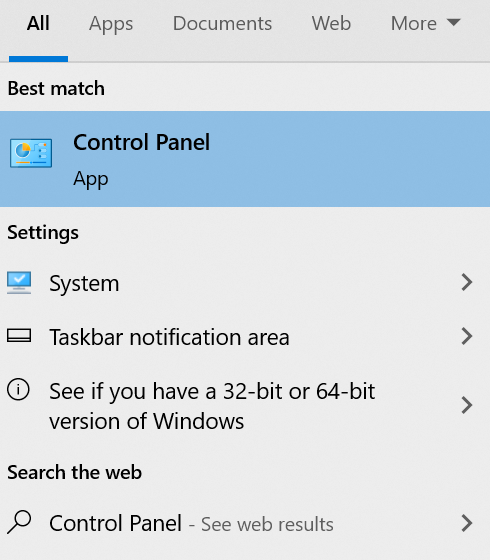
- On your Windows Search Box type Control Panel.

- Click on the top result which appears on your screen.
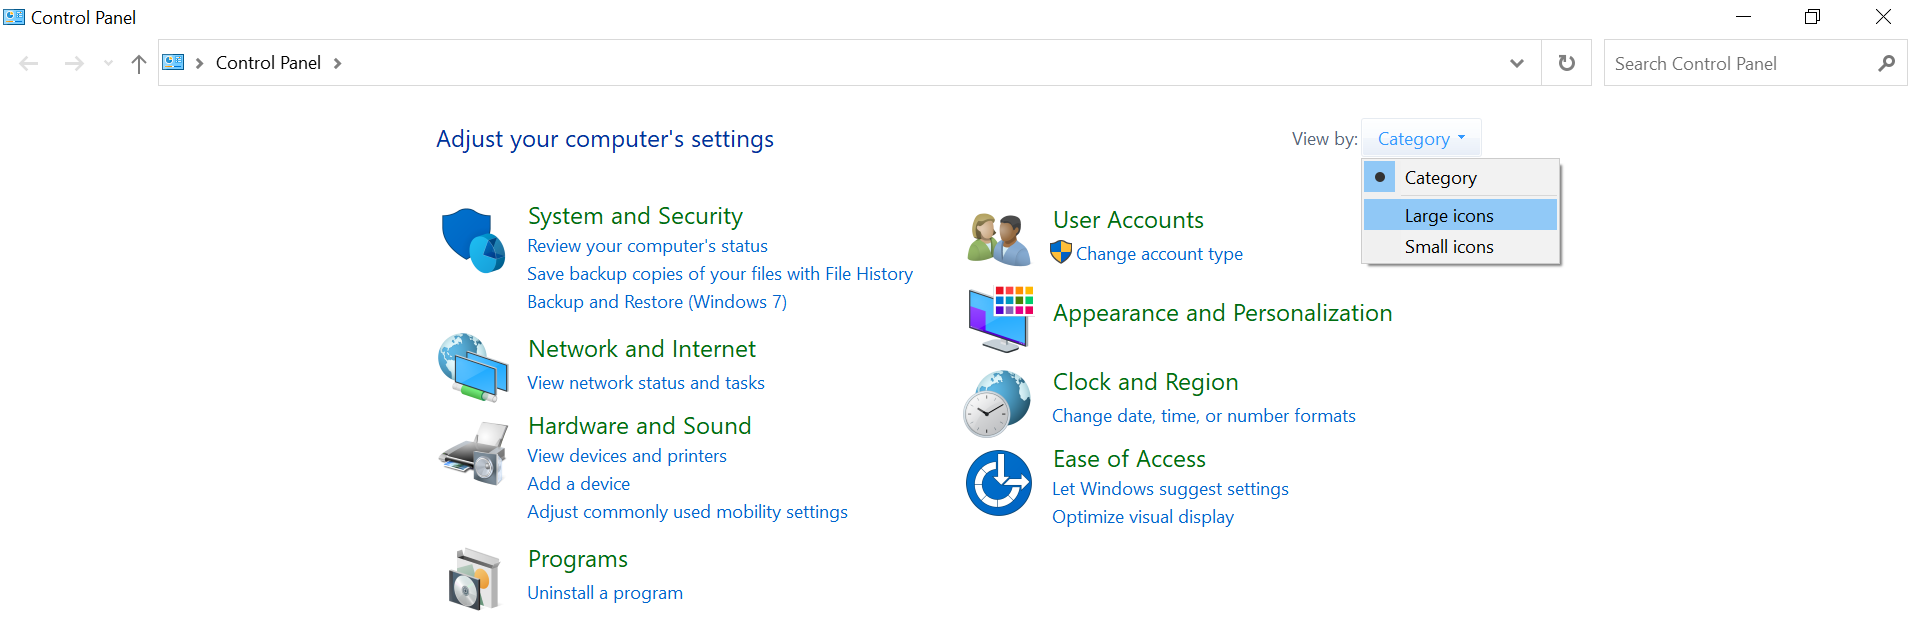
- On the top right side you need to set the View mode to large icons.

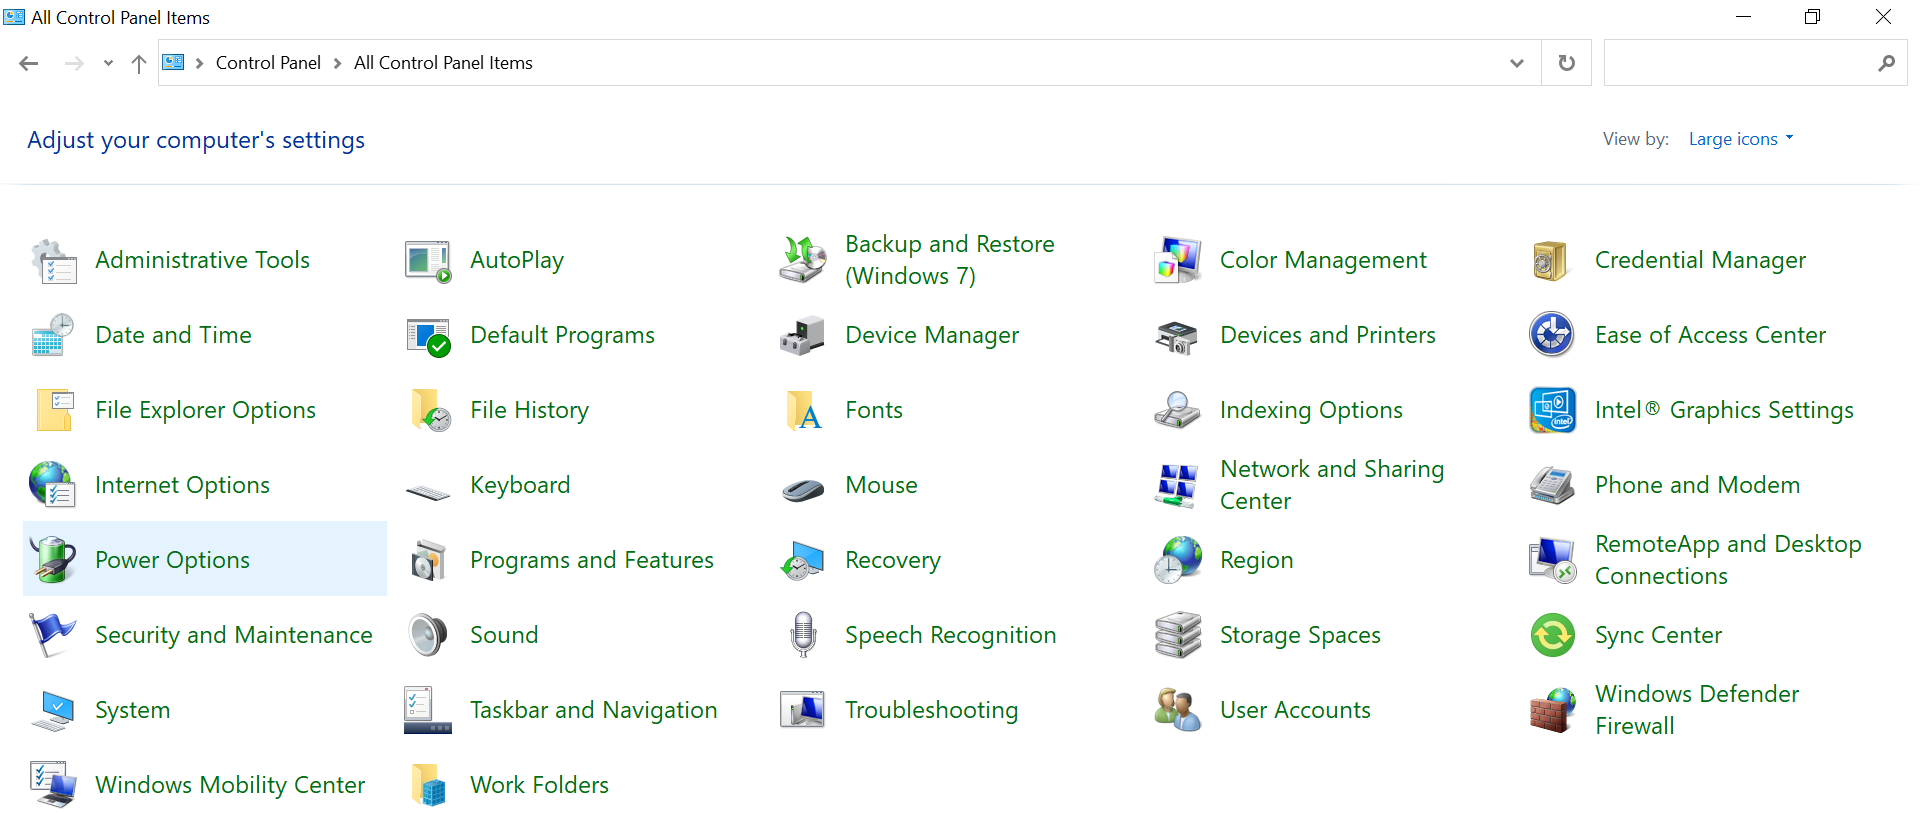
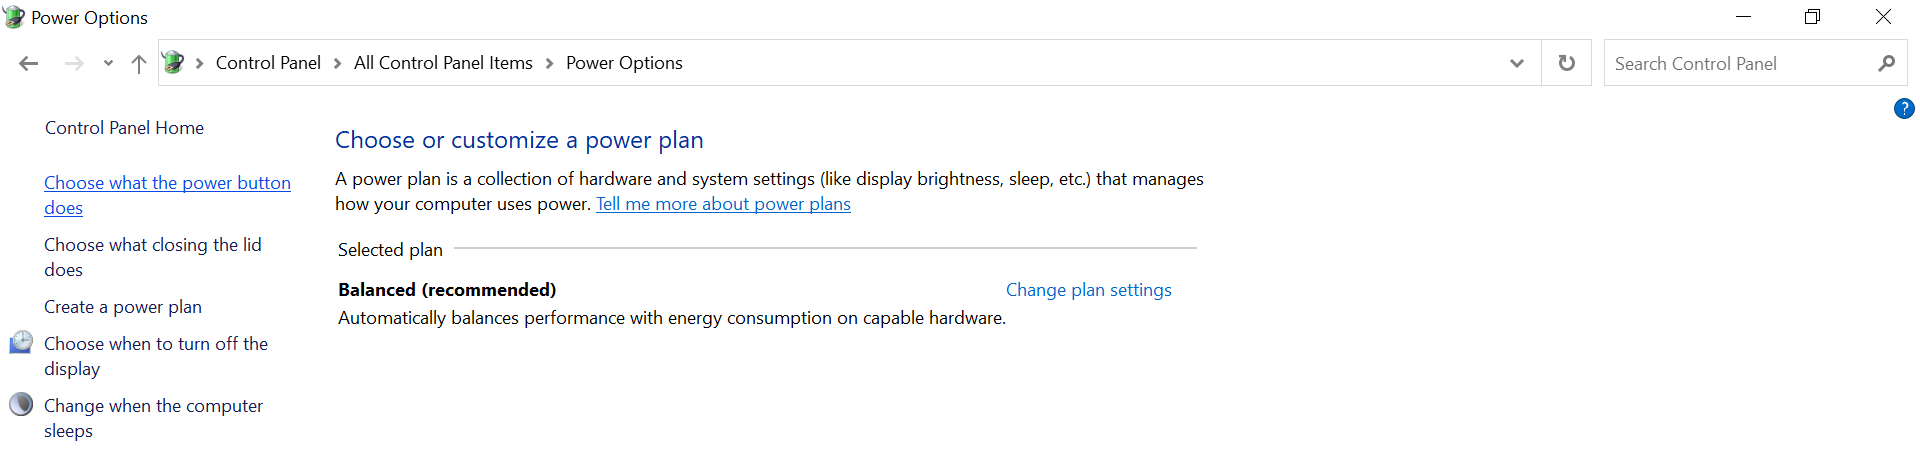
- Click on the Power Options from the list.

- Now, you need to click on Choose what the power buttons does option which is available on the left side.

- Hit the Change settings that are currently unavailable option.
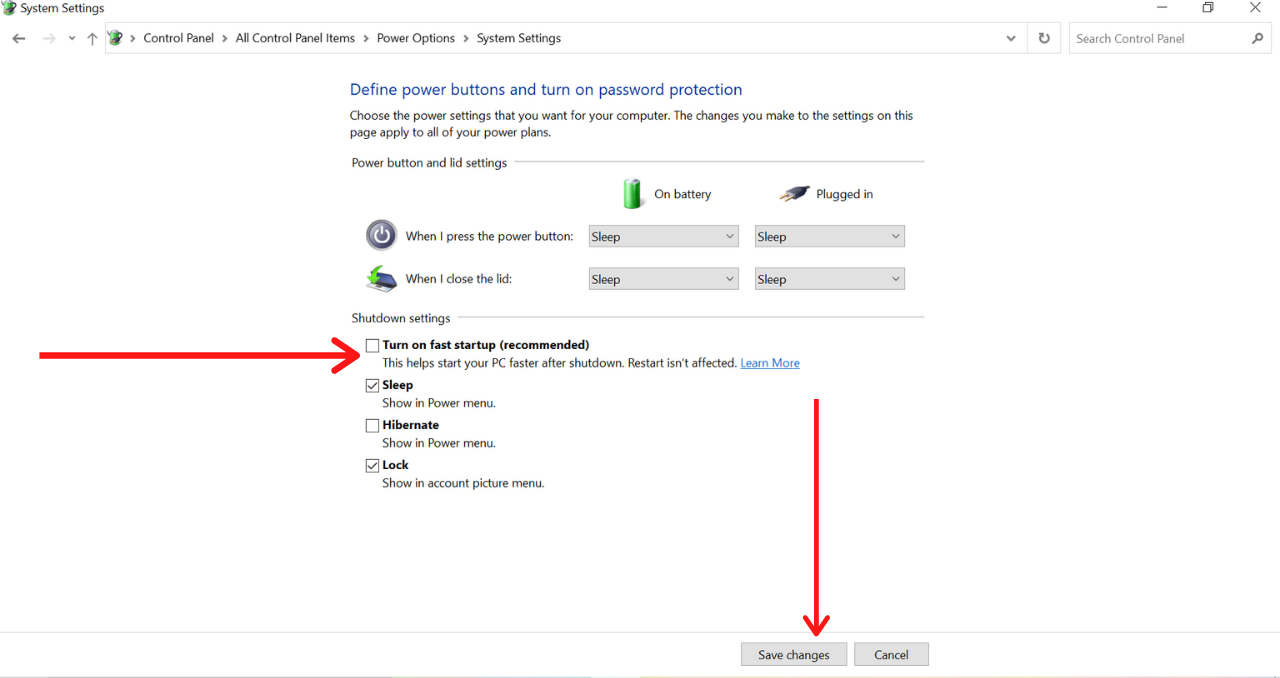
- Simply, uncheck the Turn on fast startup (recommended) option. This will disable the Fast Startup Feature.
- Finally, click on Save changes button.

Method 4: Reset your Network Adapter
Resetting the Network Adapter will help you to refresh the IP address configuration. This will bring a end to the Ethernet doesn’t have a valid IP Configuration Error.
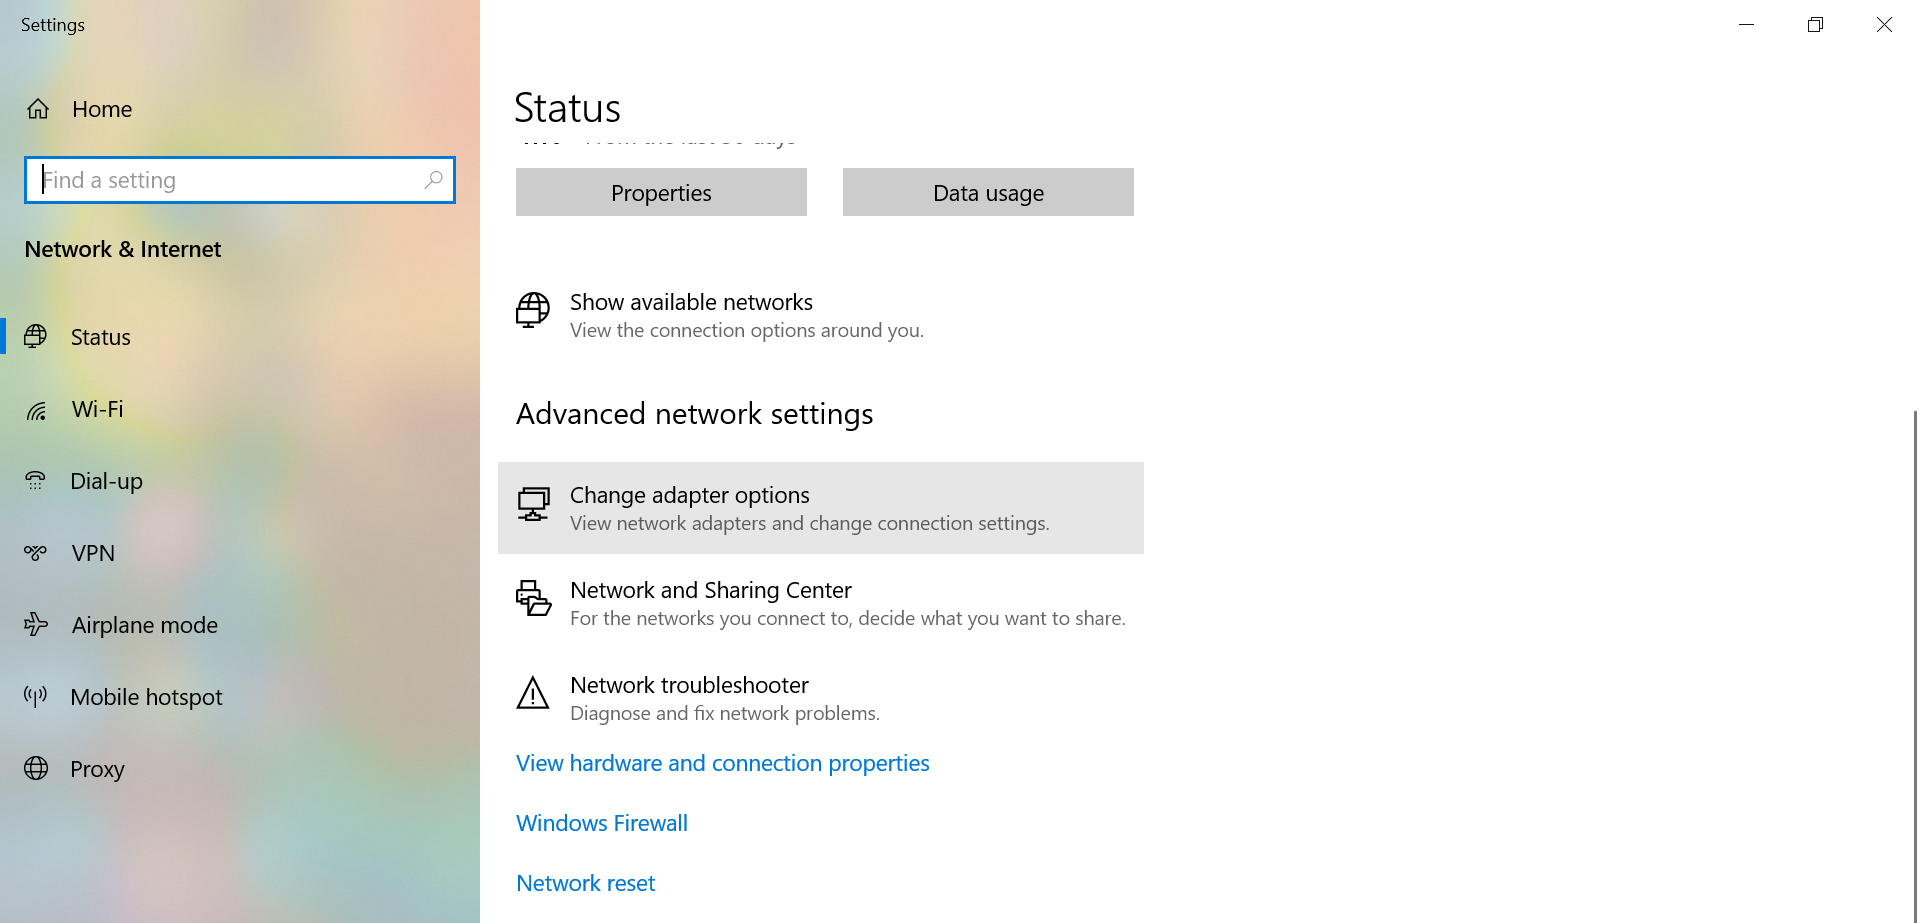
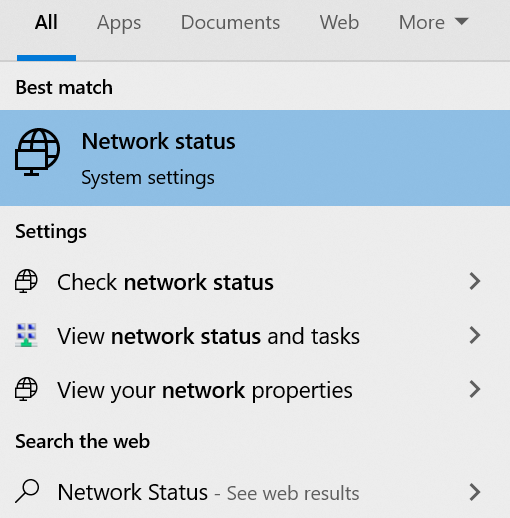
- On your Windows Search Box type Network Status and select the first option.

- Now, you need to select Change adapter options under the Advanced network settings.
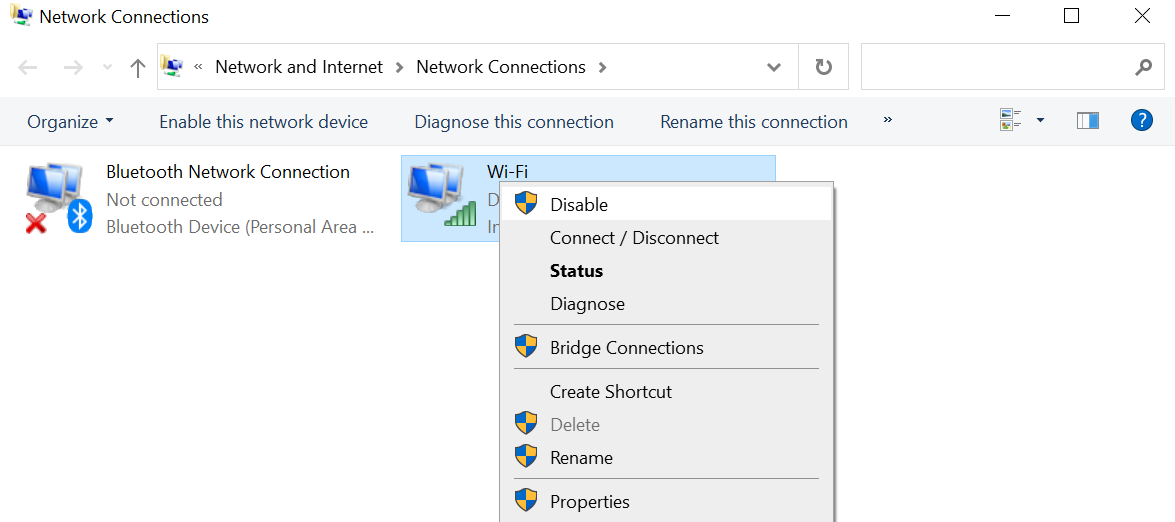
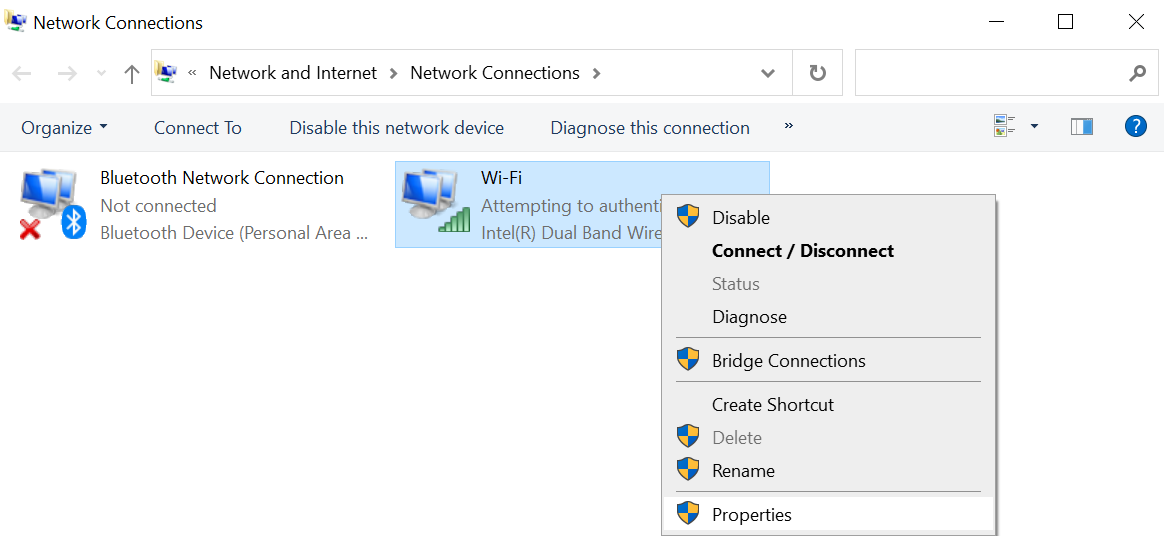
- Simply right-click on your Ethernet connection and select the Disable option from the drop-down menu.
- Wait for few minutes and then again right-click on your Ethernet connection and select Enable.
- You will receive a new IP address which will help you to get rid of this error.
Method 5: Reset TCP/IP
If still the problem is there on your computer then you can fix it by using the netsh command in the command prompt. Netsh is basically a command-line scripting utility through which you can display or modify the network configuration.
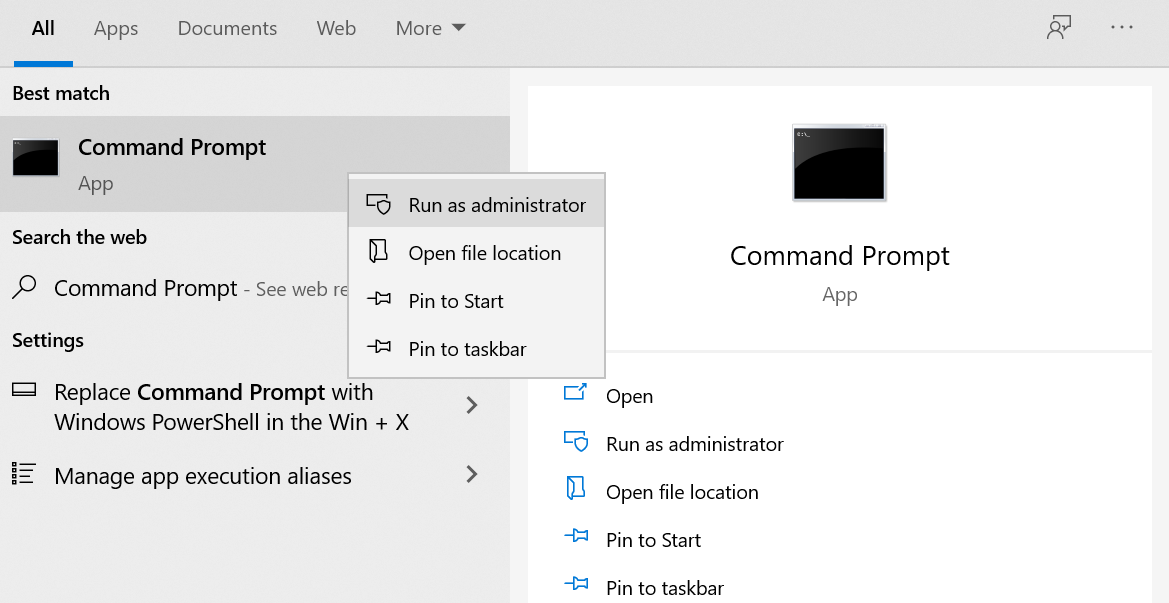
- Type Command Prompt in your Windows Search Box.
- Right-click on the top result and select Run as Administrator option.

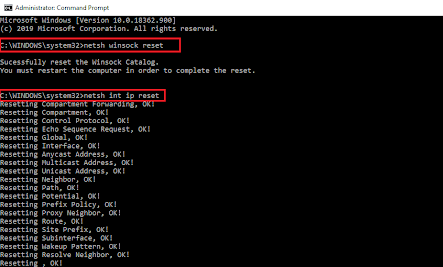
- In the command prompt you need to type these two commands:
netsh winsock reset
netsh int IP reset
(NOTE: After typing each of the command press the Enter key to execute them)

- When you will execute the first command you will get a message asking you to restart your computer. Ignore this message and type the second command.
- Once both the commands are executed Restart your computer.
- Check if still you get the ‘Ethernet doesn’t have a valid ip configuration powerline adapter’ message on your computer.
YOU MAY ALSO LIKE – How to Fix “DNS PROBE FINISHED NO INTERNET” Error in Google Chrome?
Method 6: Clear the Network Cache
We will use the ipcofig command to clear the Network Cache. Ipconfig is a command-line tool which helps in displaying the current configuration of the installed IP stack which is there on your computer. Using this you can easily reset the contents of the DNS client resolver cache. Most Importantly, you can also renew DHCP configuration.
- Type Command Prompt in your Windows Search Box. Right-click on the top result and select Run as Administrator option.
- In the Command Prompt type the following commands:
ipconfig /release ipconfig /flushdns ipconfig /renew - Once the process is done Restart your computer.
Method 7: Configure your Network Adapter Settings
Even after Resetting the TCP/IP and clearing the Network Cache you face the ‘Realtek pcie gbe family controller ethernet doesn’t have’ error then you need to manually change the Network Adapter Settings.
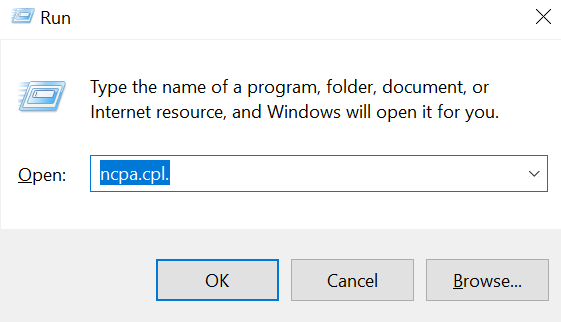
- Press the Windows Logo Key and R Key simultaneously on your keyboard to launch the Run Command.
- In the Run Box type ncpa.cpl and hit the Enter Key.

- You would be redirected to the Network Connections Window.
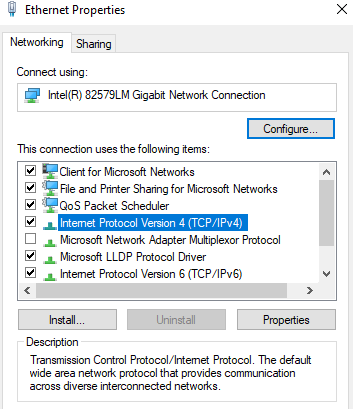
- Right-click on the Ethernet adapter setting and select the Properties option from the drop-down menu.
- In the Ethernet Properties box search for Internet Protocol Version 4 (TCP/IPv4) and double-click on it.

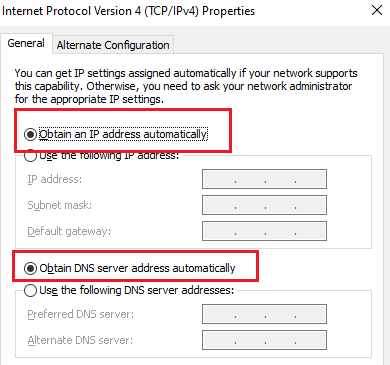
- Now, you would be redirected to the Internet Protocol Version 4 (TCP/IPv4) Properties box.
- In this box check the Obtain an IP address automatically and Obtain DNS server address automatically options.

- This should solve your problem. But, if still the error is there then you need to manually change the Network Adapter Settings.
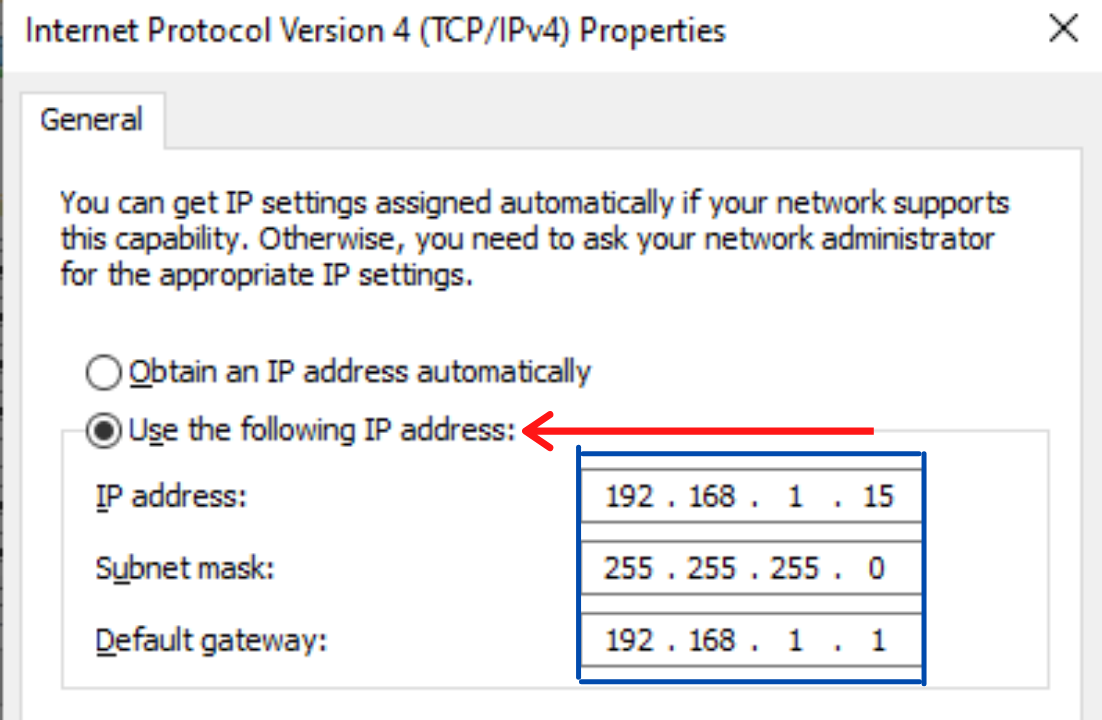
- Repeat steps 1-5 and check the Use the following IP address and Use the following DNS server addresses options. Enter the following details:
IP address: 192.168.1.15
Subnet mask: 255.255.255.0
Default gateway: 192.168.1.1
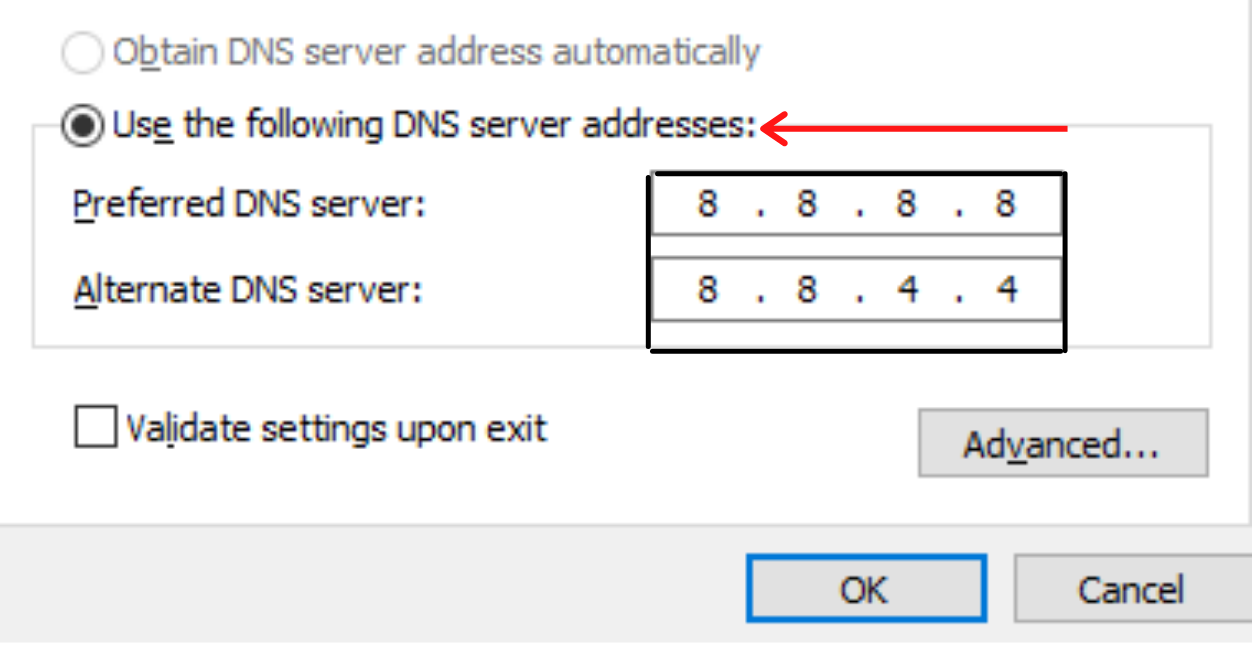
- Give the following following DNS server addresses:
Preferred DNS Server: 8.8.8.8
Alternate DNS Server: 8.8.4.4
- These are Google’s DNS settings.
- Click on the OK button to save the changes.
Method 8: Update your Network Adapter Driver
Outdated or corrupted Network Adapter Drivers can also cause you the Ethernet doesn’t have a valid IP Configuration Error. In this scenario, we need to update these drivers to fix this issue.
- On your Windows Search Box type Device Manager and click on the first option.
- You would get a list of all the drivers.
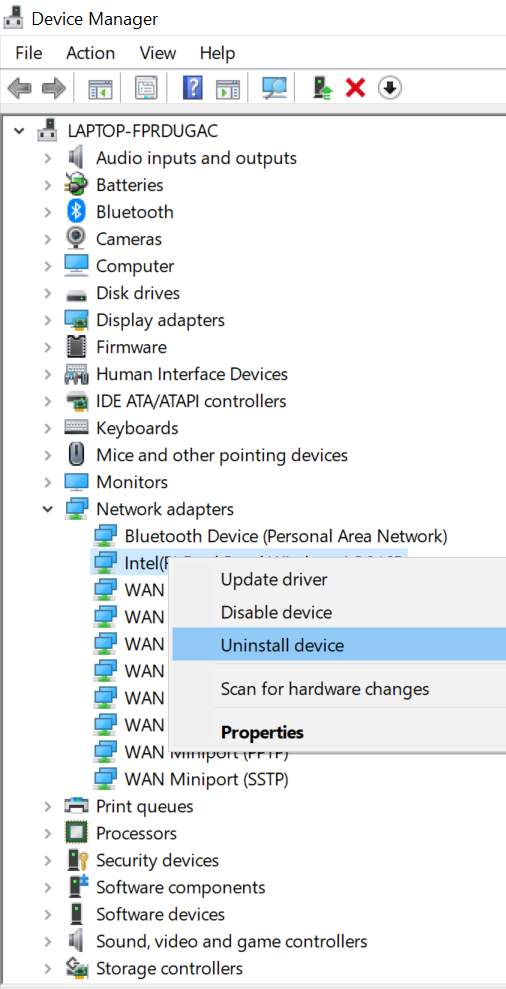
- Search for Network Adapters and double-click on it to expand it.
- Select the Uninstall option from the drop-down menu.

- You will get a warning message, check the Delete the driver software for this device box and hit the Uninstall button.
- Restart your computer and Windows will automatically install the Network Adapter Drivers. Now, you shouldn’t face this error again.
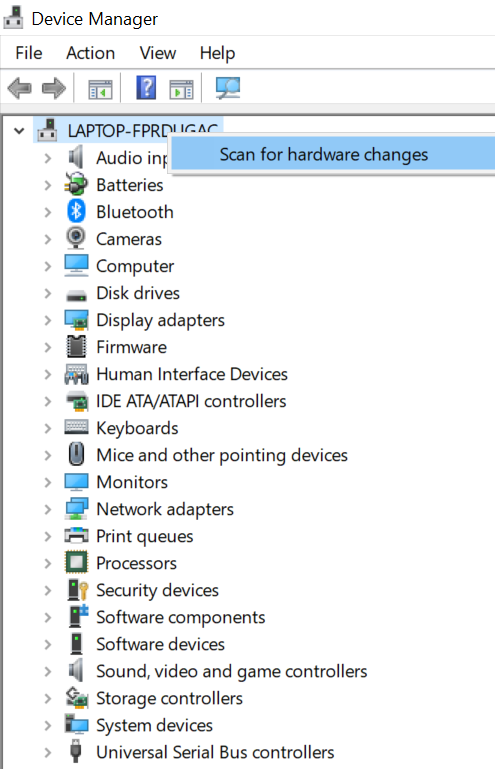
- For some reason if the Drivers are not installed automatically on your computer then open Device Manager again.
- On the top right-click on your computer’s name and select the Scan for hardware changes option. This will install the missing drivers.

- To update your drivers instead of choosing the Uninstall Driver option (Step 4) click on Update Driver.
- Click on Search automatically for updated driver software. Windows will automatically search for the updated drivers and install it on your computer. Once the drivers are installed Restart your computer.
MUST READ – How to Create a System Restore Point in Windows 10?
Method 9: Disable Microsoft Kernel Debug Network Adapter
Apart from the default network adapter if you are using some other Network adapter then they can interfere with each other. This will prevent the Ethernet connection from working properly. Sometimes, Microsoft Kernel Debug Network Adapter can cause this problem on your computer.
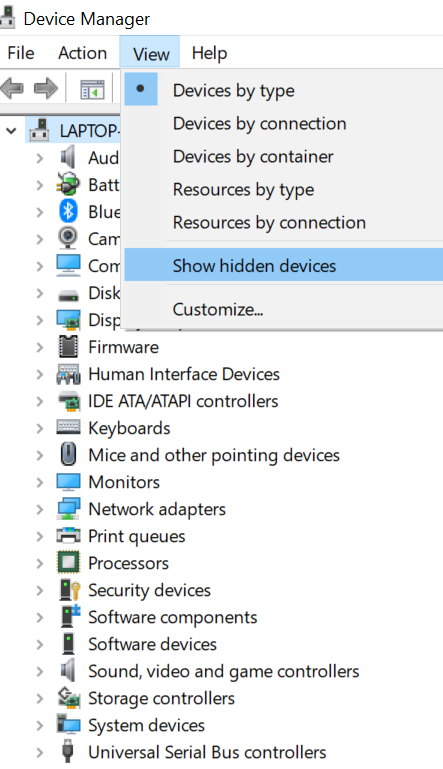
- Open Device Manager on your computer. You can do this by typing Device Manager on your Windows Search Box.
- Click on the View Tab which is available on the top.
- Select the Show hidden devices option from the drop-down menu.

- Double-click on the Network Adapters and right-click on the Microsoft Kernel Debug Network Adapter and select Disable Device.
- In the Confirmation Window select the Yes option.
Concluding…
You can easily fix this error by following the steps given above. We have mentioned all the steps in detail so, you can easily follow them. Do tell us in the comments section which method helped you. If you know any other method of solving this error then write about it in the comments. We hope that this article was helpful for you.