
Many Windows 10 users are facing a problem or a common Blue Screen of Death error named ‘Page Fault in Nonpaged Area’. This error is mainly caused because Windows is not able to find the file in memory, which expects it to be found. The root cause of the problem may be the driver conflict from the Software Department. It can also be because of faulty RAM on the Hardware. This problem is very difficult to be solved for many users. But there are some solutions for it which we have tried and tested and they are working while we are writing this guide. In this article, we will talk about How to Fix ‘Page Fault in Nonpaged Area’.
[toc]
 Solutions to fix Page_Fault_in_Nonpaged_Area Error
Following are the tested and working solutions which helped many users fix the BSOD Error namely Page Fault in Nonpaged Error. You should start following the solution 1 and gradually follow the next solutions if the one doesn’t seem to be working for you. Let us know in the comments below if you have got any queries or problems while trying any of the mentioned solutions.
- Run Disk and Memory Check
- Update the Drivers
- Disable Automatic Paging File Size Management
- Disable Any Third Party Antivirus Application Temporarily
- How To Fix the Page Fault in Nonpaged Error Right after Booting the Computer
Method 1 – Run Disk and Memory Check
This solution will work for most of you who are facing this error. As told before Faulty RAM and corrupted NTFS volume may be the main issue behind this problem. In this scenario, the Disk check will surely help you. Follow the steps given below:
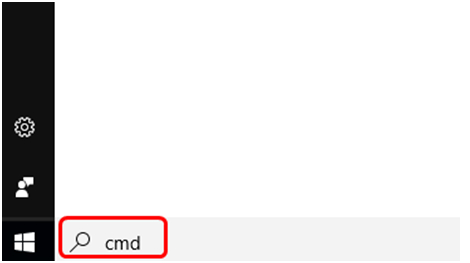
- Go on your Windows Search Box and type cmd.

- You will see Command Prompt on your Screen.
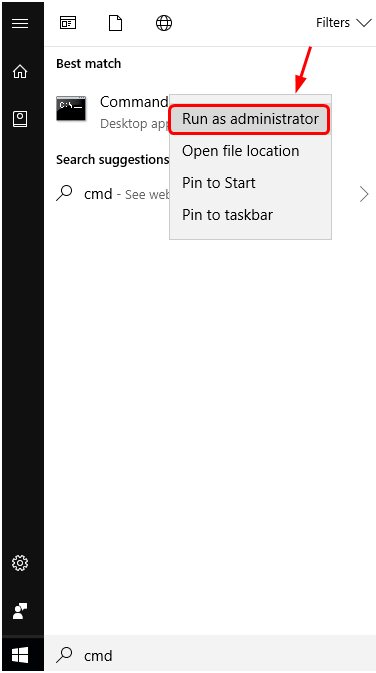
- Simply Right Click on it.

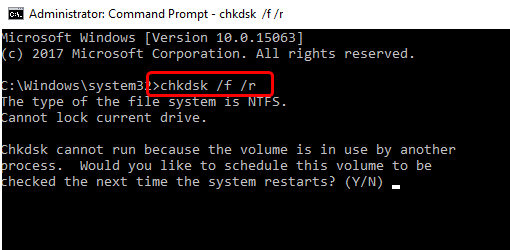
- Type the Following Command and press enter key:
chkdsk /f /r
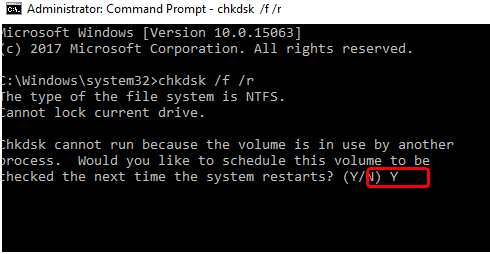
- Then on your Keyboard Press Y and press enter.

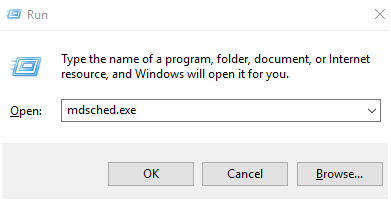
- Now you need to open the Run Command Prompt.
- Type Run Command on your Windows Search Bar and type mdsched.exe

- You need to Select ‘Restart now and Check For Problems’.
- The scanning will start. It will only take 15-20 Minutes.
- Now, you won’t face the problem. But, if you still see the error follow the Solutions given Below.
MORE READ – How to Fix Windows 10 Error Code 0xc000021a?
Method 2 – Update the Drivers
In most of the Computers, the issue root cause is mainly the Outdated Drivers. Most of the errors arise due to expired or outdated drivers including DNS PROBE FINISHED NXDOMAIN. It is always suggested and recommended to keep the drivers up-to-date. Updating your Driver’s will fix the Page_Fault_in_Nonpaged_Area in Windows 10 or Windows 8. To update your Drivers, follow the steps given below:
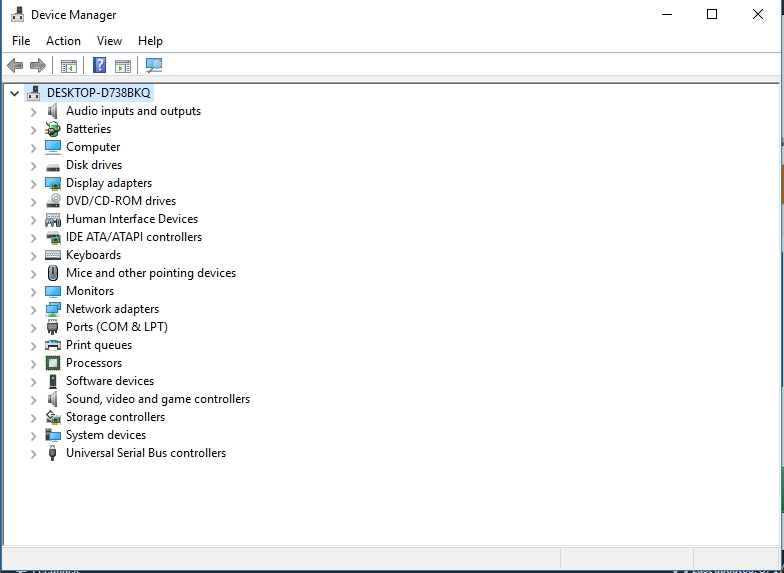
- In your Windows 10 Search Bar type Device Manager.
- The Drivers with a Yellow Exclamation Sign are Outdated Drivers. You need to update them.

- Right-click on the Driver and select ‘Update Driver Software’.
- Check other drivers also.
- Restart your computer and check if your problem is resolved or not.
- To fasten this process you can also use Snappy Driver Installer (SDI) which is a free tool that is used to update drivers.
- It works for Windows 7, Windows 8, Windows 10 and even for Vista and XP.
- The Drivers are downloaded in ‘Driverpacks‘ through Snappy Driver Installer.
- It will show your Updated Drivers and Invalid Drivers.
- This will separate the Updates which requires you to Restart your system which makes a lot of things much easier.
- So, Snappy Driver Installer is a good option.
Method 3: Disable Automatic Paging File Size Management
If the above 2 Methods are not resolving your issue then there is another reason for this issue. Try this method given below. This is an excellent solution for Page Fault in Nonpaged Area Windows 10 Fix.
- First, you need to open Explorer. To do this Press the Windows Key.
- Right-click on This Pc. Then select the Properties Option.
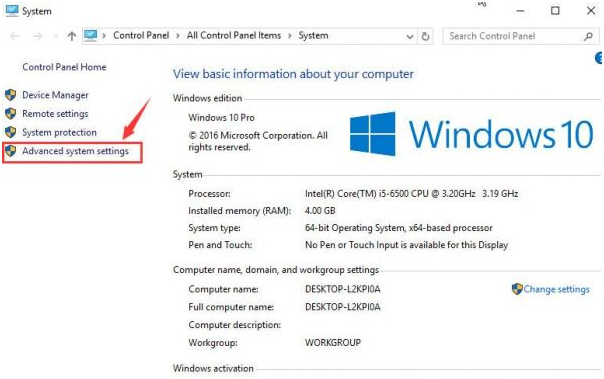
- On the Left Corner, will see Advanced System Settings. Simply click on it.

- Hop over to the Performance section and click on Settings.
- Now, you need to select the Advanced Tab and Change Option.
- You need to Uncheck the Automatically manage paging file size for all drives option.
- Then Hit Ok and save the settings.
- Restart your computer.
CHECKOUT – How to Easily Fix “Video Scheduler Internal Error” in Windows 10?
Method 4: Disable Any Third Party Antivirus Application Temporarily
The Antivirus Application installed on your Computer may be the main cause of this problem. Sometimes, third party apps or software may conflict with the internal programs and cause such troubles or errors. To resolve this issue you may need to Disable the Antivirus Application, at least temporarily. You should also try disabling Windows Defender for sometime and see if the error disappears or resolves. Many users said that Disabling the Antivirus Application Temporarily resolved their problem. If it resolves the problem you need to contact your Antivirus Vendor or Seller and ask for Consultation. You can even use some other Antivirus Application. We always recommend people to only buy high reputed Antivirus Application so that they do not face any kind of issue in the Future.
Checkout: How to Temporarily Disable or Turn Off Avast Antivirus?
Method 5: Fixing the Page Fault in Nonpaged Error Right after Booting the Computer
- Click the Power Button on your Lock Screen.
- Hold the shift key for few seconds. Then click Restart.
- You need to hold the Shift Key until you see some message like Please Wait or anything else.
- A new screen will open after few seconds.
- Follow the Following Steps:
- Go to Troubleshoot- Advanced Options-Startup Settings.
- You need to create a Minidump. Consult the moderators in the Microsoft Answer Forum to create a Minidump.
- Restart your computer. You will get back to the normal boot mode. If the issue is still there your computer will create a Minidump.
- Open the dump file. You will see the Dump File on the Bluescreen.
- You would automatically see the Drivers or Files which are causing this issue.
- Now, you can use a Driver Updater to resolve the issue. You can use Auslogics Registry Cleaner.
Concluding…
I hope the solutions mentioned above will help you to solve this frustrating issue. As you can see you don’t require any kind of Technical Knowledge to solve this issue. It is a common problem and the solutions that we have provided will surely help you. If still, you are facing the issue then you need to replace your RAM. Contact a Computer Engineer for resolving this issue.