You want to watch your favorite Movie or Song on your computer. To enhance your experiences you plug in your headphone onto your computer only to find that Windows 10 is Not Detecting Headphones. Don’t worry you are not the only one facing this problem. Many users reported that their Headphones are not getting detected on Windows 10 even though the speaker is working. Read this article till the end to know How you can Fix Windows 10 Not Detecting Headphones When Plugged in Issue.
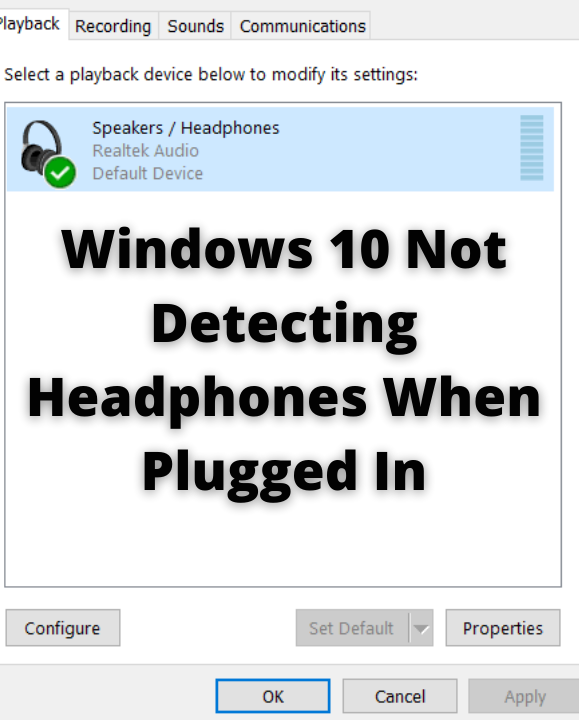
Table of Contents
Reasons for your Headphones Not Working
Now, there is no particular reason behind this error. But, we have noticed some common reasons. If your headphone jack is damaged then it won’t work on your computer. Sometimes, software on your computer interfere with your headphones. As usual, outdated or corrupted drivers can cause you this error. Some system errors on Windows 10 itself can also cause this problem. Below, we have mentioned effective solutions for Laptop Headphone Jack not working issue.
CHECKOUT – How to Fix Windows Stuck on Just A Moment (Install, Update or Reset OS)?
ALSO CHECK – Realtek PCIe GBE Family Controller Not Working? Try these Fixes!
Method 1: Use Audio Troubleshooter
Windows Troubleshooter can solve most of the errors and bugs. For this problem also Windows have a dedicated Troubleshooter. Follow the steps given below:
- On your Windows Search Box type Troubleshoot.
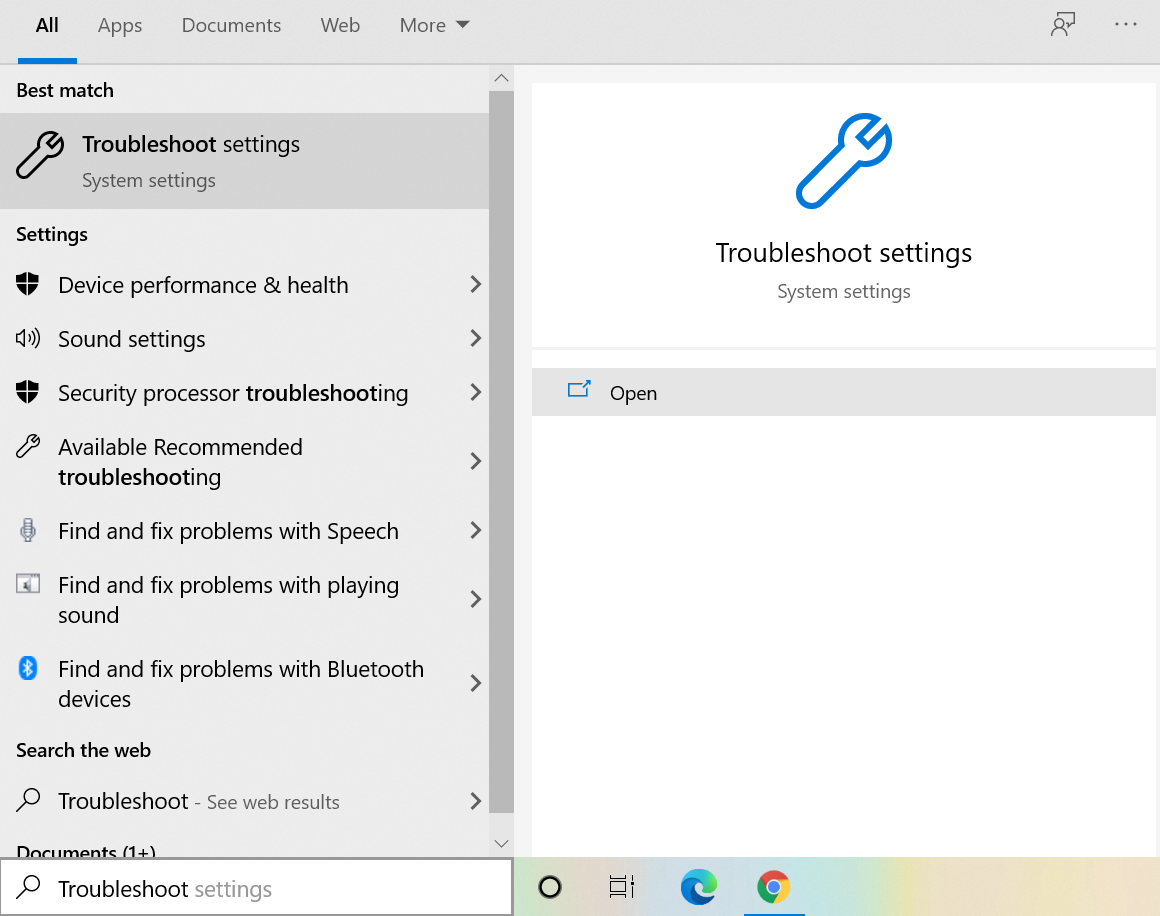
- Then locate the Playing Audio option from the list and then hit Run the Troubleshooter option.
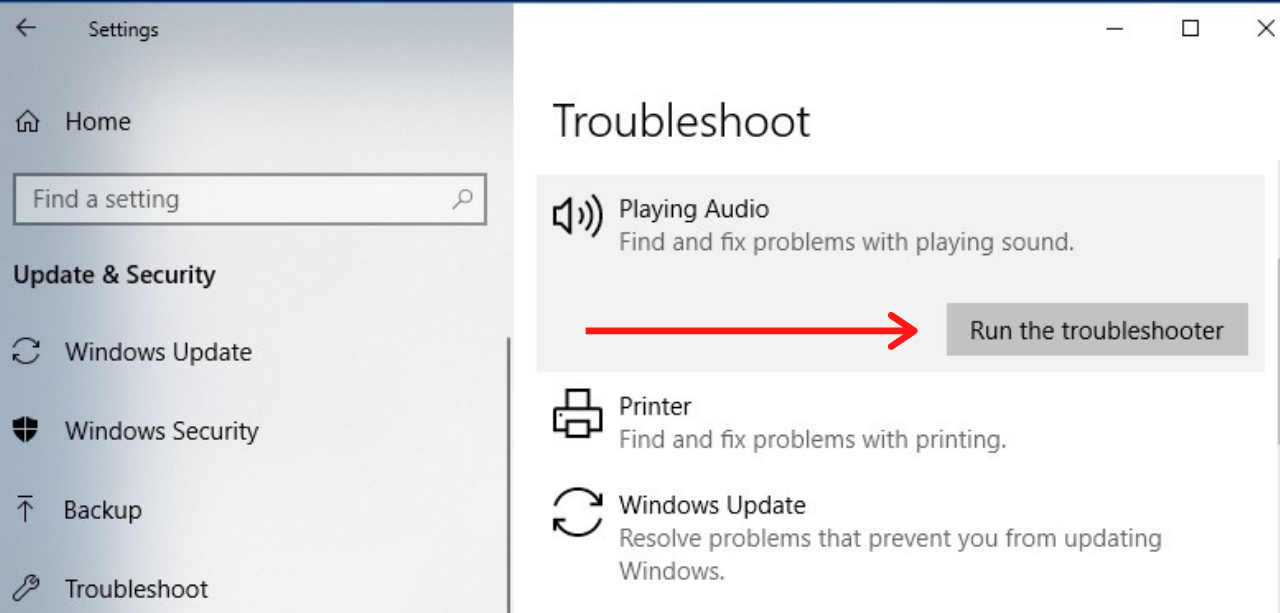
- Windows now will search for any errors on your computer. If anything is detected then you will get the instructions on the screen.
- Now, you would be able to use the Headphone easily.
Method 2: Make Sure Headphones are Enabled on your Computer
If the Headphone which you are using is disabled on your computer then you won’t be able to use it. To check if your headphone is enabled follow the steps given below:
- Right-click on the Speaker Icon and then hit the Open Sound Settings option.
- In the Sound Settings window, you need to click on the Manage sound devices option.
- Check if your headphone is under the section of Disabled List.
- If your headphone is Disabled click on it to Enable it.
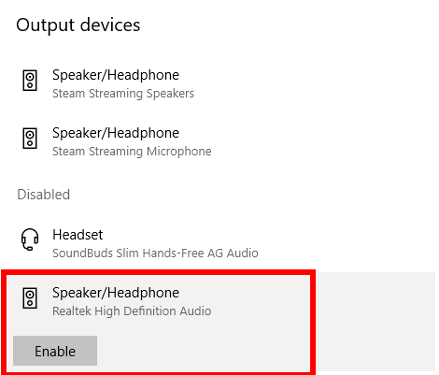
- Now, your Headphone should start working.
ALSO CHECK – How to Quickly Fix Steam Friends Network Unreachable Error?
Method 3: Update Audio and Sound Driver
If still, your Headphone is not working then there is some problem on your Audio and Sound Driver. To resolve this we need to update the drivers.
- On your Windows Search Box type Device Manager.
- Click on the top result.
- Double-click on the Sound, video, and game controllers option to expand it.
- Simply right-click on your Audio Driver and select the Update Driver option.

- Now, you need to click on Search automatically for updated driver software.
- Windows will automatically search for Updated Driver. If anything is found it will get automatically installed on your computer.
- Restart your computer and now, use your Headphone.
Method 4: Ensure Bluetooth is Working
If you are using Bluetooth headphone then there is a chance that maybe your Bluetooth is disabled on your computer. Also, your Headphone should be compatible with Windows. For example, if your Headphone has Bluetooth 5.0 and your computer only supports 4.0 then headphone won’t work.
- On your Windows Search Box type Bluetooth.
- From the left-hand side click on Bluetooth and another device.
- If the Bluetooth Toggle is turned OFF then click on it to turn it ON.
- Now, try connecting your Headphone.
YOU MAY ALSO LIKE – How to Fix the Video TDR Failure (atikmpag.sys) on Windows 10?
Method 5: Disable Front Panel Jack Detection
Perform this solution only if you are using the Realtek sound card. To solve the Windows 10 not detecting headphones when plugged in problem you need to disable front panel jack detection. See, you need to be able to use the front panel jack. Most users said that it helped them to solve this problem. Also, you can always Enable it back again from the settings.
- Type Control Panel on the Windows Search Box.
- On the top right side, you need to change the view to Large icons.
- Now, search for the Sound option.
- Locate the Realtek HD Audio Manager option and click on it.
- Hop over to Connector settings.
- Now, you need to Disable the front panel jack detection option and then click on OK to save the changes.
- Restart your computer.
- Now, hopefully, your problem should get resolved.
Method 6: Change the Default Sound Format
Your Headphone may not also work if the default sound format is not correct. Changing the format may help you to resolve this issue. Below, we have mentioned the steps to change the default sound format:
- Right-click on the Start Option which is available on the bottom and then selects Control Panel.
- On the top right side, you need to change the view to Large icons.
- Hit the Hardware and Sound option and then click on Sound.
- Under Playback Tab you need to double-click click on Default Playback device. A new window will pop up on your screen.
- Simply switch to Advanced Tab.
- Now, click on Default Format and change it to different formats. You need to play with the sound formats.
- Every time you change the format click on Test to check if you can hear the sound or not.
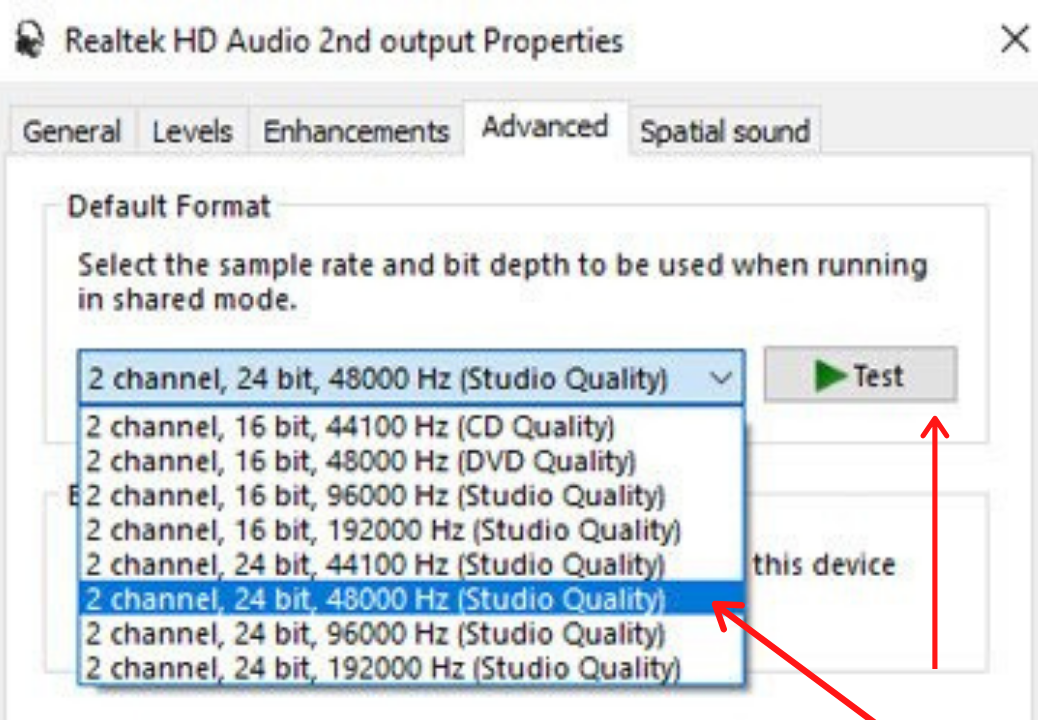
- If you can hear the sound then that sound format is perfect for you. Click on Apply and OK to save the changes.
- Restart your computer and now plug in your Headphone.
READ THIS – How to Quickly Fix Steam Friends Network Unreachable Error?
Concluding…
We hope that this article was helpful for you in resolving this problem. Do tell us which method you used to solve the Windows 10 Not Detecting Headphones When Plugged In Issue. If you faced any issue in following the above steps put your query in the comments down below and we will surely help you out.
