
If your Wireless Mouse is not working on your Windows system then this article is for you. Many users are facing various issues with their mouse. Now, there might be some issues with your mouse itself or maybe there are some software issues on your computer. There is no specific reason for this problem. You can face this issue because of outdated or corrupted drivers, battery discharge or maybe power management issues is the root cause of this problem. Read this article till the end to know how you can fix Wireless Mouse Not Working On Windows issue easily.
[toc]
Method 1: Changing the Power Saving Settings
Some power-saving settings can cause the ‘Wireless Mouse Detected but Not Working’ issue. Follow the steps given below:
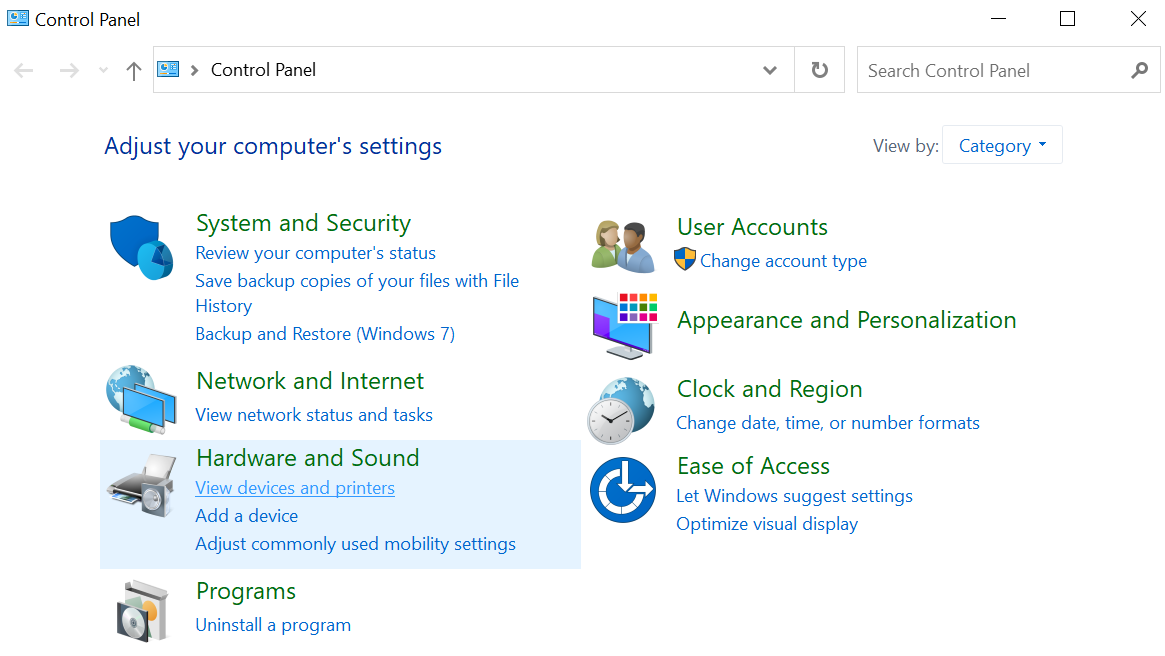
- On your Windows Search Box type Control Panel.

- Click on the top result which appears on your screen.
- Under the Hardware and Sound section, you need to click on View Devices and Printers option.

- Simply right-click on the USB Mouse or Keyboard option.
- Click on Properties.
- Hop over to the Hardware Tab.
- Click on the HID Device and then click on the Properties option.
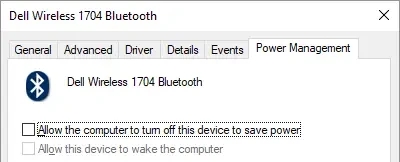
- Click on Change Settings and then hop over to the Power Management Tab.
- Now, you need to uncheck the box which says Allow the computer to turn off this device to save power.

- Finally, click on Apply and then OK.
- Restart your computer and check if the problem still exists.

CHECKOUT – Best iOS Emulators to run iOS or iPhone Apps on Windows PC
Method 2: Disable the Fast Startup Option
Most users said that disabling the fast startup option helped them to resolve this issue. Follow the instructions given below:
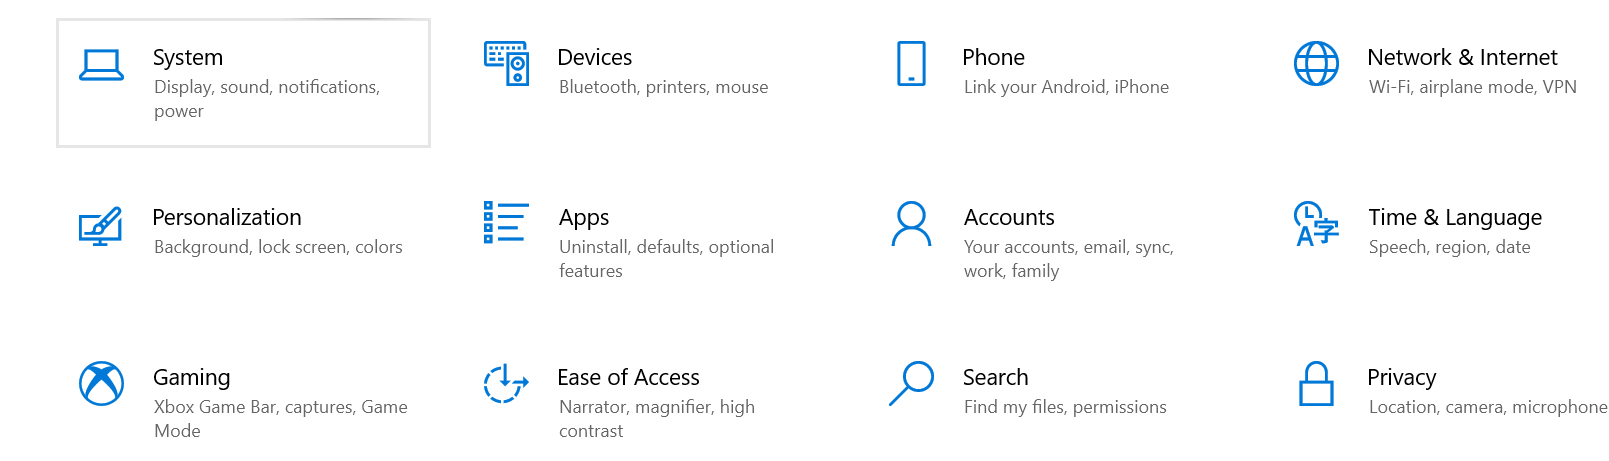
- Press the Windows Logo Key and I Key simultaneously on your keyboard.
- This would launch Settings.
- Click on the System Option.

- Select the Power and Sleep option which is available on the left-hand side.
- Now, you need to select the Additional Power Settings.

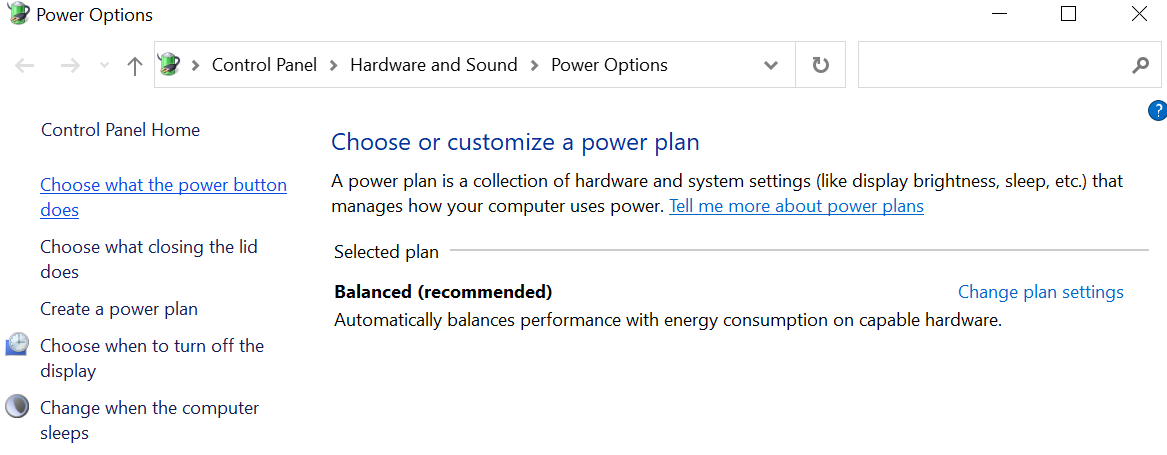
- You would be redirected to the Power Options Window.
- Hit the Choose what the power buttons does option.

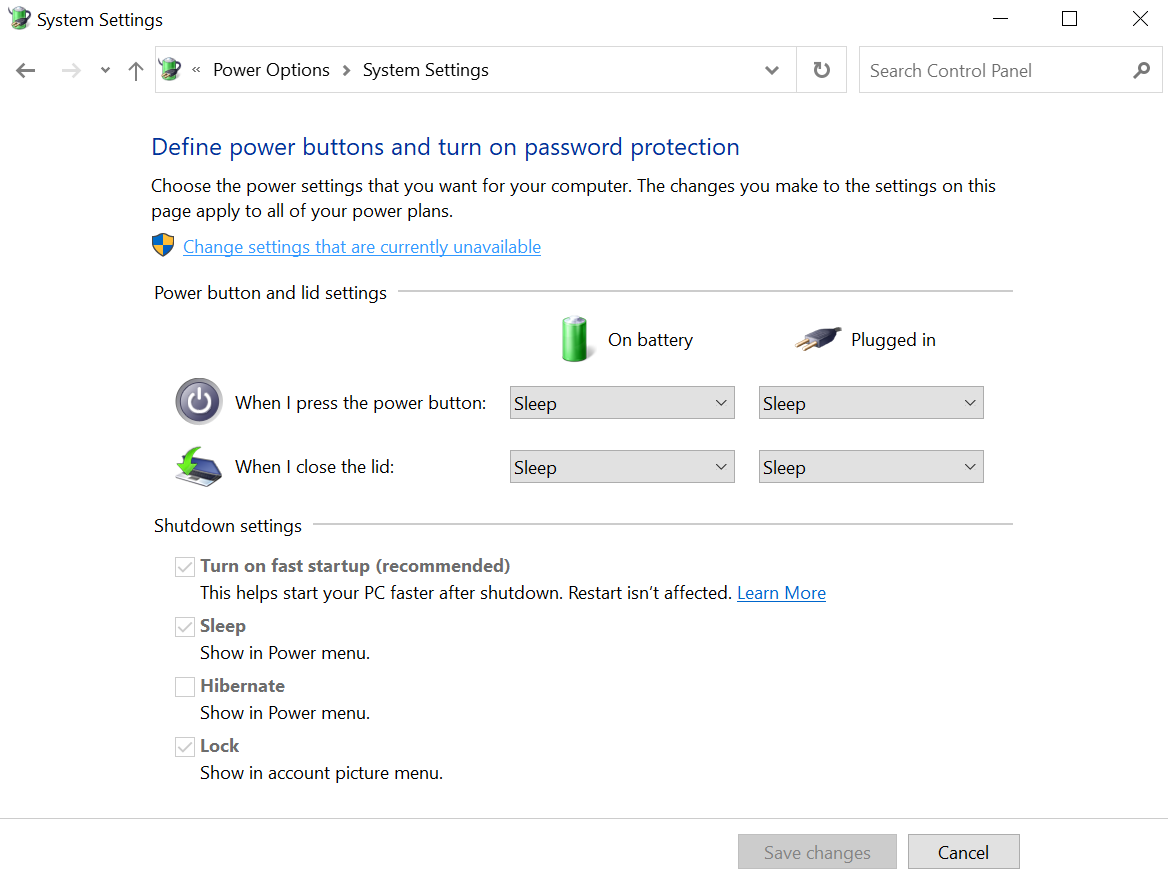
- In the System Settings option, you need to click on the Change settings that are currently unavailable option.

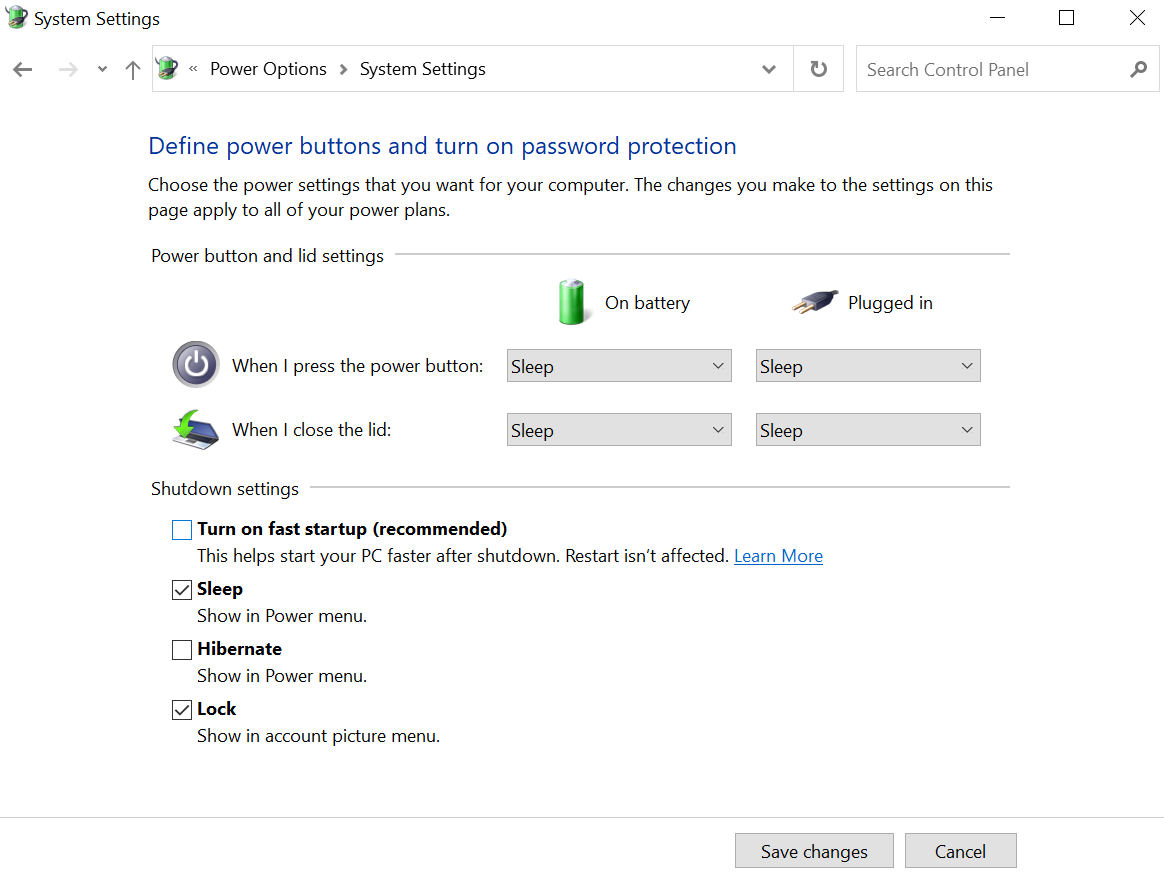
- On the bottom under the Shutdown Settings Section, you need to uncheck the Turn on fast startup (recommended) box.

- Restart your computer to apply all the changes.
- When you will boot your computer it will take some time to start.
- Be patient and once the computer starts you won’t face any problem in using the mouse.
- If you want to enable the Startup option then you need to check the box again.

ALSO CHECK – [Solved] CS:GO Error VAC Was Unable To Verify Your Game Session
Method 3: Reinstall the Wireless Mouse Driver
Your outdated or corrupted drivers may be causing you this issue. In this scenario, we need to uninstall the old drivers and install updated drivers instead.
- On your Windows Search Box type Device Manager and click on the top result which appears on your screen.
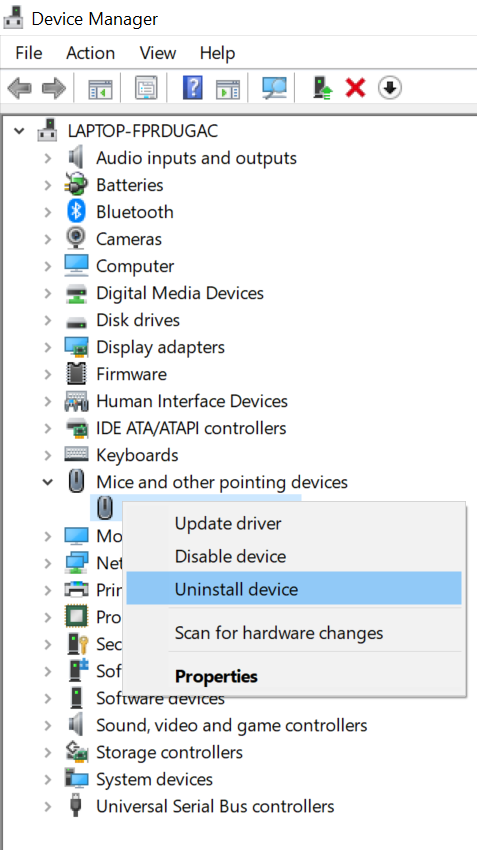
- Find the Mice and other pointing devices option from the list of all drivers.
- Double-click on it to expand it.
- Simply right-click on the Wireless Mouse option and then select the Uninstall option.

- You will get a confirmation message, select the Yes option.
- Restart your computer.
- Windows will automatically install the new drivers while booting up.
- Check if the Bluetooth Mouse Not Working issue is resolved or not.
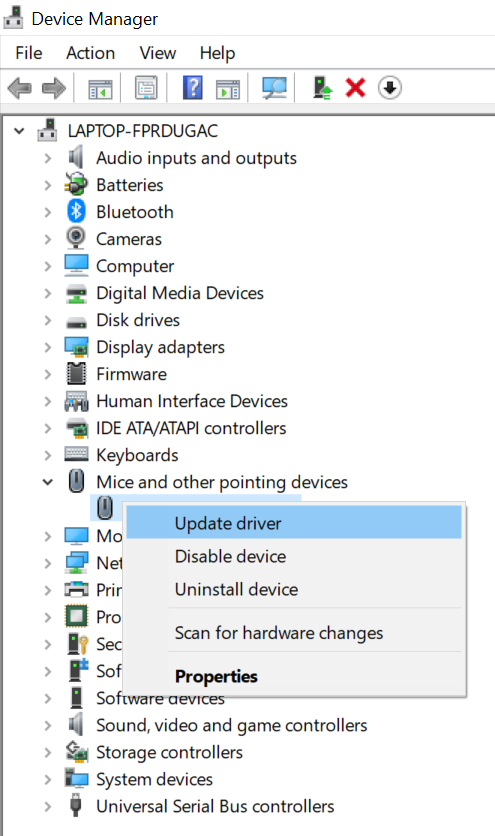
Alternative Way of Updating Drivers:
- Instead of uninstalling the drivers, you can also directly update them from Device Manager.
- Open Device Manager again and right-click on the Wireless Mouse Option.
- Now, choose the Update Driver Option.

- Select the Search automatically for updated driver software. Windows will automatically search for the drivers and will install them on your computer.
- Wait for some time until the updated driver is installed on your computer.
- Once it is installed Restart your computer and now, the wireless mouse should work properly.
- You can also visit the Mouse Manufacturer’s Website and download the latest driver manually.
- Once you have downloaded it repeat steps 1-3 again.
- Choose the Browse my computer for driver software.
- Give the location where you have downloaded the drivers on your computer.
- Restart your computer.
YOU MAY ALSO LIKE – How to Enable Virtualization (VT) in Windows 10?
Concluding…
If still you are getting the ‘Wireless Mouse Detected but not Working’ issue then check the batteries of your mouse. Replace the batteries and then try using them. You can also try using the Mouse on your second computer. If on the second computer also the mouse is not working then there is some problem with your wireless mouse itself. Try replacing the mouse or buy a new one. We hope that this article was useful for you. Do tell us which method helped you in resolving this frustrating problem. If you faced any problem in following the above steps write about it in the comments section. We will surely help you out.