
Counter-Strike: Global Offensive (CS: GO) game is loved by many gamers and playing it can make anyone’s day. But, recently many gamers got VAC Was Unable To Verify The Game Error when they were trying to try to queue for matchmaking. Now, if you aren’t running any sort of a script or cheat to get unfair advantage over other players then no need to worry. This error can be solved easily. In this article we will tell you How to Fix CS:GO Error VAC Was Unable To Verify The Game Session.
[toc]
Meaning Of VAC Was Unable To Verify Your Game Session
The full form of VAC is Valve Anti-Cheat System. Basically, it helps in detecting anomalies in installation files. This helps in preventing the gamers to make changes in the game files to get unfair advantage over other players. So installing Mods or Unfair files in any games over Steam is very risky and VAC is capable of detecting such act which results in permanent ban and suspension of account on Steam. But sometimes, due to bugs and glitches in the server or Steam, you might encounter this error. Most users got this error after a patch update. Below we have mentioned effective solutions for CS:GO Error VAC Was Unable To Verify The Game Session.
Method 1: Restart Your Computer
This one is an easy solution which will solve most of the users problem. Close down all the applications and files on your computer. Then Restart it and see if it resolves the problem or not. If still you are facing the problem try performing Power cycling. Don’t get worried Power Cycling is not a complicated process. Power Cycling means Shutting Down your computer completely and then turning it on again. This would help your computer in re-initializing its configuration parameters and also recover from an unresponsive module. Follow the steps given below:
- Close down all the files and applications and then Shut Down your computer.
- Now, remove the battery and then press the Power button for 1 Minute.
- Removing the battery will clear the data stored in the RAM.
- In case you are on Desktop unplug it from the power source.
- After 2-3 Minutes put the battery back onto your computer.
- Start your computer again and now, hopefully you won’t see the error.
CHECKOUT – How to Use PS4 Controller on PC?
Method 2: Restart Your Steam Client On Your Computer
If there are any corruption issues with your Steam client then restarting it should help. Follow the steps given below to Restart the Steam Client:
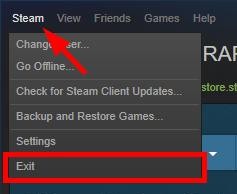
- On your Steam Client you need to click on Steam which is available on the top left corner.
- Select the Exit Option.

- You need to open the Steam Client again.
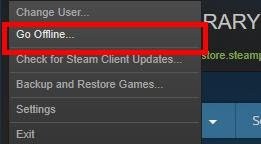
- Click Steam and then select Go Offline.

- Hit the Restart in Offline Mode Option.
- Click Steam and select Go Online.

- Then you need to select Restart and Go Online.
- Launch the Game and the CS:GO Error VAC Was Unable To Verify The Game Session should get resolved.

Method 3: Verify The Game Files
The integrity issues on your game files might be causing you this error. Hence, we should verify the game files in order to solve the Error.
- Open your Steam Client and then click on Library.
- Right click on the Counter-Strike: Global Offensive game.
- Select Properties.
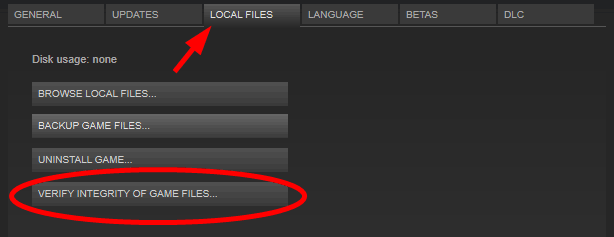
- On the top you will find the Local Files tab. Click on it.
- Then select the Verify Integrity Of File Games.

- After the process is done click on the Close Option.
- Launch the game again and now you shouldn’t see the VAC Was Unable To Verify The Game Session Error.
CHECKOUT – Best iOS Emulators to run iOS or iPhone Apps on Windows PC
Method 4: Try Logging Out and In On Your Steam
Your File Management System or maybe the Operating System could have modified the configuration files leading to VAC Was Unable To Verify The Game Session Error. So, you should first log out and then log in on your Steam Account to remove the altered configuration files. When you log back in, the original files will be recreated. Follow the steps given below:
- Launch your Steam App then hit the Profile Name Option which is available on the top.
- Then you need to click on Log out my account.
- Once you have logged out log in again.
- In case you have forgotten your password you can select the Reset Password option.
- Now, open that game again and now the frustrating error must have been gone.
Method 5: Update Your Drivers
If you are using Outdated Drivers then there are high chances that this is the main cause of this error. So, updating it will resolve this issue. Apart from this updating your Drivers regularly ensures smooth running of computer. Follow the steps to update your drivers easily without any complications.
- Press the Windows Logo Key and R Key simultaneously in your Keyboard. This would open the Run Command.
- In the Run Command type devmgmt.msc and hit OK.
- This would open the Device Manager.
- You can also open it by typing Device Manager on your Windows Search Box.
- Once you have opened the Device Manager Double Click on Display Adapters.
- Now, you need to Right Click on your Graphics Card.
- Choose Update Driver Option.
- Then select Search Automatically for updated driver.
- Follow the instructions to update your Drivers.
- You can also update your Drivers from Manufacturer’s Website.
Alternative Way Of Updating Drivers:
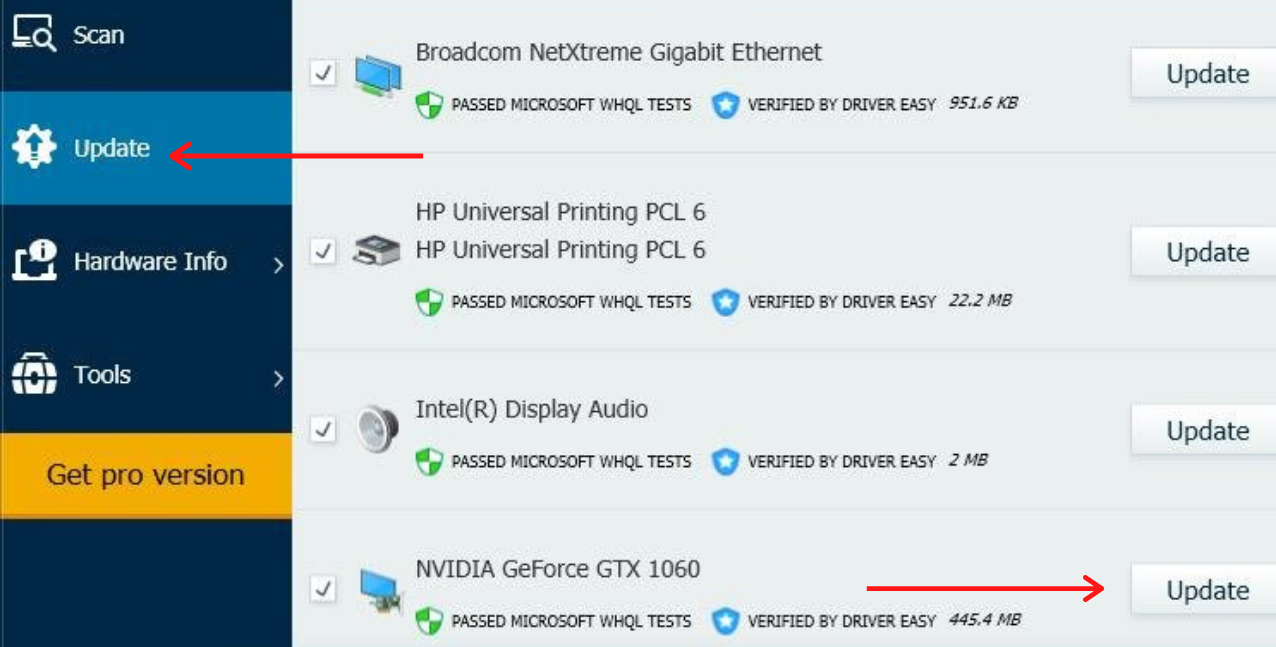
- If you find the above steps complicated then you can install Driver Easy.
- Driver Easy is a free software which will automatically identifies the outdated drivers and then find the correct drivers for it.
- Download this Software from Google.
- Launch it on your computer and then select the Update Option which is available on the left corner.

- You will get a list of outdated drivers. Click on Update Option besides the outdated driver.
Method 6: Run Steam as an Administrator
If the Steam does not have the Admin Privileges then this can cause the VAC Was Unable To Verify The Game Session Error. This is because Steam needs full access to function properly without any problems. It can change the system configuration files if you Run it as Administrator. Also it can easily gain the memory and resources it requires.
- Hop over to the to the directory where you have installed Steam on yout computer.
- In most of the cases you will find it in C:\Program Files (x86)\Steam.
- Open the folder and find Steam.exe file and right click on it. Select Properties option.
- Now, you need to Switch to the Compatibility tab.
- Simply tick the Run this Program As An Administrator box.
- Hit the Apply Button to save the changes and then click on OK.
- After this find GameOverlayUI.exe and then simply right click on it.
- Click on Properties.
- Again, you need to Switch to the Compatibility tab. Tick the Run this Program As An Administrator box.
- Hit the Apply and OK Button.
- Now, we need to give the Admin Access to all Steam folders. Till now we have just given the permission to the two .exe files only.
- Again, go to the Steam folder.
- Right-click on it and select Properties option.
- Now, you need to Switch to the Security Tab.
- Here, select Advanced option.
- You will be directed to a new page where you will see Six rows.
- See the first four rows are Permission Entries list which are editable but, the last two are not.
- Simply select the first editable row. Then click on the Edit option.
- Now, you need to Mark the check box for the options which are given under Basic Permissions including the Full Control option.
- Hit the Apply and OK Button in order to save the settings.
- Repeat Step 18-20 again for the remaining three editable rows.
- Relaunch Steam and now it will Run as Administrator.
- The VAC Error should get resolved.
CHECKOUT – Top 10 Methods to Fix PUBG Mobile Lag in Gameloop Emulator
Method 7: Remove the Game Directory from Antivirus Scans
Third Party Antivirus Applications can cause this error. If your Antivirus Application is scanning your game files in the background then VAC won’t be able to verify the files. This causes the VAC Was Unable To Verify Your Game Session Error. To avoid this you need to whitelist the Steam directory and the game itself from the scanning process. In this way the Game and Steam Directory won’t be scanned in the next scanning schedule and your problem would be resolved.
Alternatively, if you don’t want to whitelist manually, then you can temporarily turn off your Antivirus Software and check for this error. Check the methods to temporarily disable Windows Defender or turn off Avast Antivirus in Windows.
Method 8: End Steam’s Service
A problem with the Steam service which is running in the background can also cause this error. So, ending it in the Task Manager will help you. Follow the steps given below:
- Press the Windows Logo Key and X Key simultaneously on your Keyboard.
- This would open the Power User Menu.
- From the menu you need to select Task Manager.
- Hop over to Processes Tab.
- Simply click on the Steam Service.
- Now, you need to click on End Task Option.
- See, if the error has resolved or not.
CHECKOUT – How to Fix the Video TDR Failure (atikmpag.sys) on Windows 10?
Method 9: Verify The DLL File
See, there are two DLL files which are needed to run Steam Smoothly and Effectively. First DDL File can be found on Program Files folder located in Local Disk C. The second DDL File is stored in the Steam installation Directory. If both the files don’t match then VAC won’t be able to verify the game session. The solution is simple for this. You need to copy one file and use it to replace the second one.
- Hop over to the to the Steam installation directory. You will find this in: C>Program Files (x86)> Steam > Bin.
- Find the Steamservice.dll file. Copy this file by right clicking on it.
- Paste this .dll file in C>Program Files (x86)>Common Files> Steam.
- If you see a message like the file already exists then replace it. To do this simply, click on Replace option.
- Launch the game and see if the error still exists.
THESE MAY HELP:
- How to Fix MSVCP140.dll Missing in Windows 7, 8 or 10?
- How to Download & Fix api-ms-win-crt-runtime-l1-1-0.dll is missing Error?
Concluding…
You can easily resolve the CS:GO Error VAC Was Unable To Verify Your Game Session by following the Solutions given in this article. We hope that this article helped you solving this error without any complications. If you know any other way to solve this error write it in the comments section.