
Many users are not able to open the NVIDIA Control Panel on their Windows System. The Control Panel is been missing from the Start Menu, Desktop Context menu or from the Desktop itself. It’s a very frustrating problem for the users who use the Video Editing Software or play high-graphics games as they use the NVIDIA Control Panel regularly. You can get this problem due to the latest updates, outdated or corrupted graphics card driver, missing registry subkeys, etc. Even we faced this issue and found out some effective solutions for it. Read this article till the end to know How to fix NVIDIA Control Panel Not Opening in Windows.
[toc]
Method 1: Run all the Necessary Services
To fix the NVIDIA Control Panel Missing problem you need to make sure that all the necessary services are running. If you cannot access the Control Panel then there is a high chance that the essential services are disabled. Follow the steps given below:
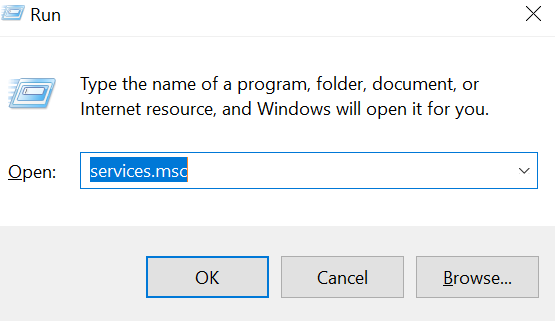
- Press the Windows Logo Key and R Key simultaneously on your keyboard to launch Run Command.
- In the Run Box type services.msc and press the Enter.

- From the list find the Nvidia Display Container LS and double-click on it to launch its Properties.
- Check if the service is running or not. If it is not running then select the Start option. On the other hand if the service was already running then click on Stop and then hit the Start button again.
- Now, you need to set the Startup type to Automatic and then click on Start button.
- To save the changes simply click on Apply and OK button.
- Now, find the Nvidia Network Service Container and repeat steps 4-6 again.
CHECKOUT – How to Disable Laptop Keyboard on Windows or Mac?
Method 2: Unhide the NVIDIA Control Panel
If you cannot find the NVIDIA Control Panel on your Start Menu or Desktop Context Menu after updating the NVIDIA graphics card software then it might be hidden. Don’t worry the steps to unhide it is very easy. Follow the instructions given below:
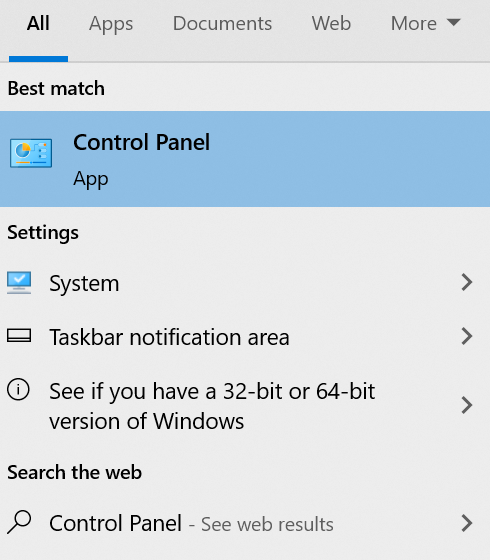
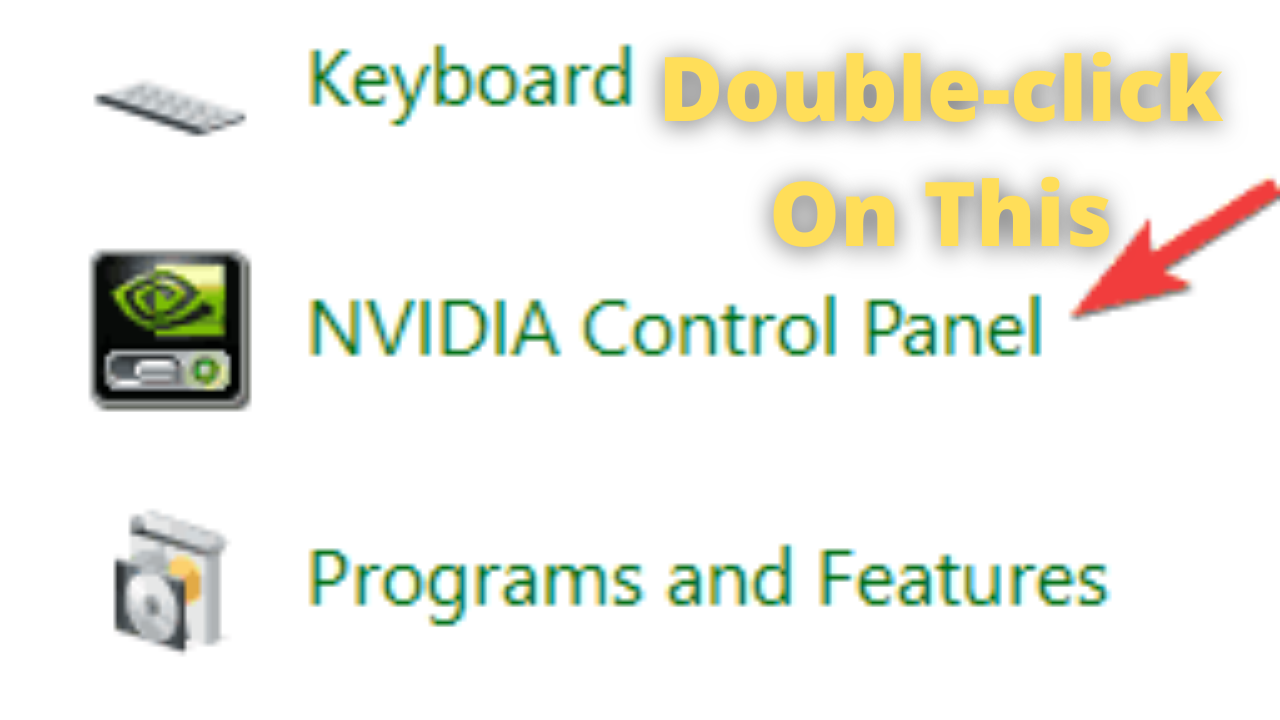
- On your Windows Search Box type Control Panel and click on the top result which appears on your screen.

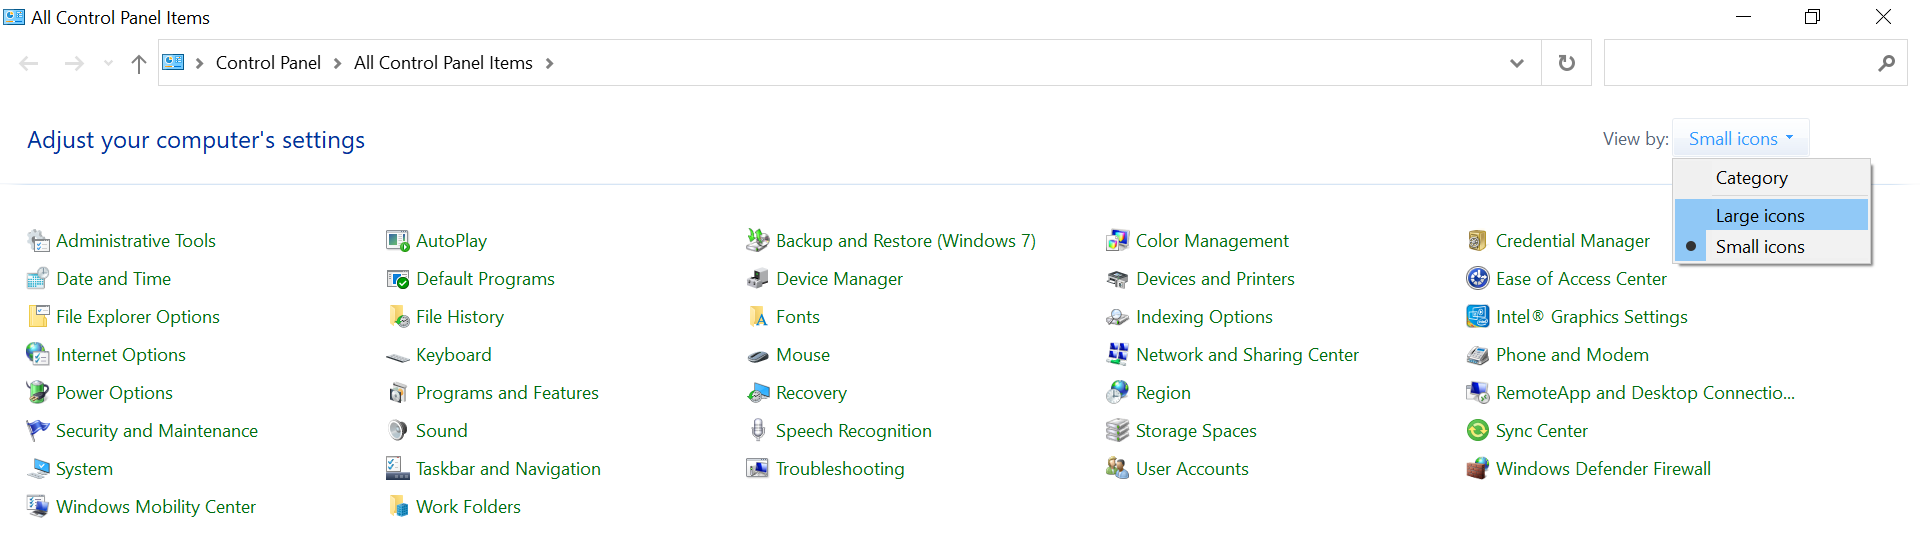
- On the top right corner set the View Mode to Large Icons. (Optional)

- Now, you need to double-click on the NVIDIA Control Panel.

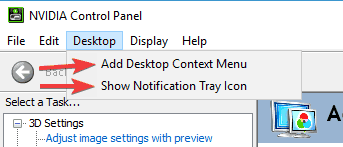
- On the top click on Desktop or View menu.
- Click on Add Desktop Context Menu and Show Notification Tray Icon option from the drop-down menu.

- Now, you would be able to see the NVIDIA Control Panel in the Desktop context menu.
MUST CHECK GUIDE – How to Safely Overclock Computer Monitor?
Method 3: Reinstall the NVIDIA Control panel App
If still you cannot find the Nvidia Control panel App then you should Reinstall it. Many users reported that reinstalling the app from the Microsoft Store helped them to resolve this problem. You can also check and try the solutions for NVIDIA Installer Failed Error.
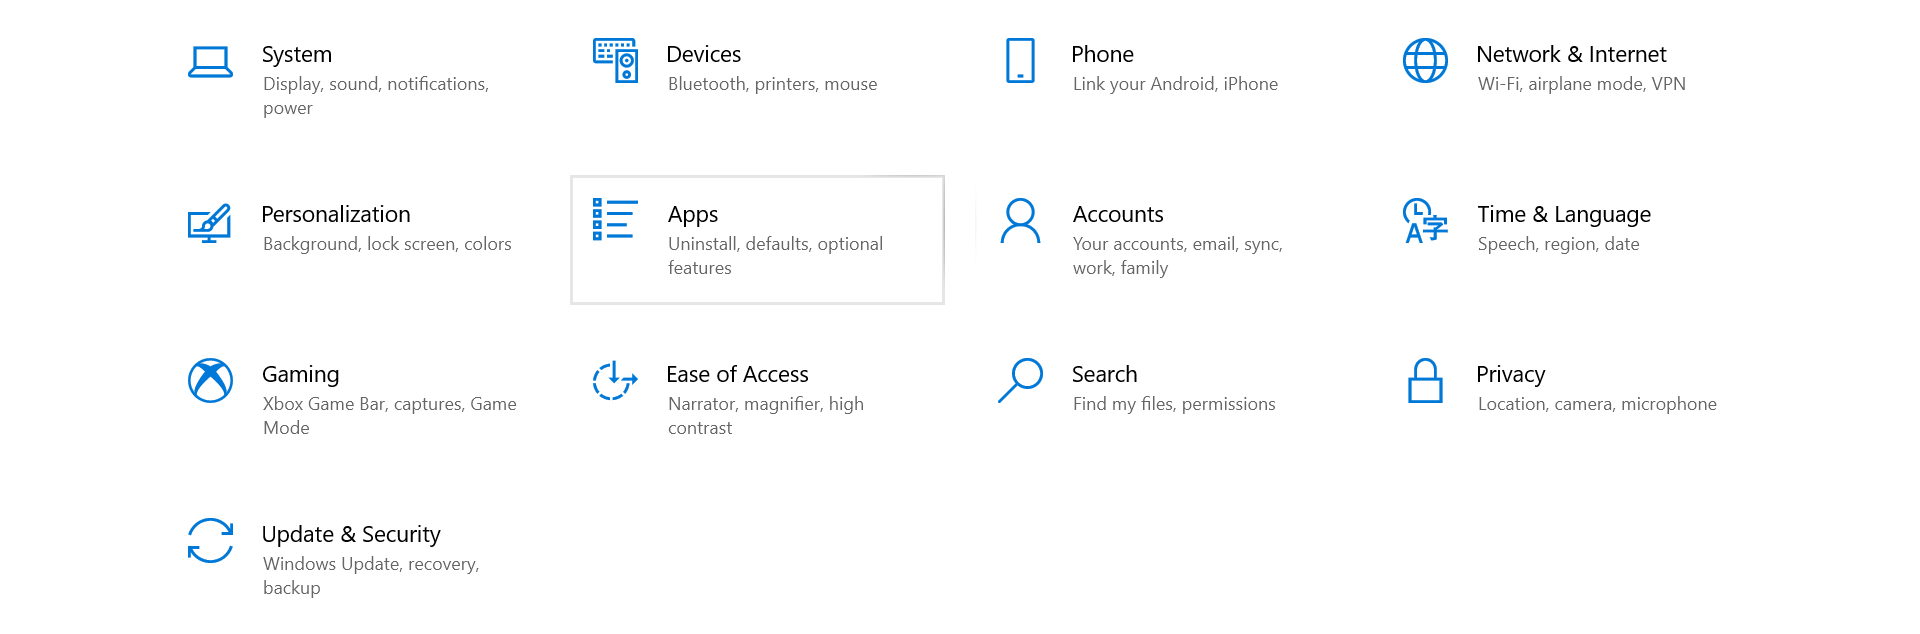
- Press tbe Windows Logo Key and I Key simultaneously on your keyboard to launch Settings.
- Click on Apps.

- On the left side click on Apps & Features option.
- In the Search Box type Nvidia Control panel.
- You will see the Nvidia Control panel on the list. Simply Uninstall it.
- Use this link in order to download the Nvidia Control panel from Microsoft Store.
ALSO CHECK – How to Fix Windows 7 Update Error 80072EFE?
Method 4: Update the NVIDIA Graphics Driver
An outdated Graphics Driver can also cause you this problem. To resolve this you need to update the drivers. Fortunately, updating drivers on Windows is very easy and fast process.
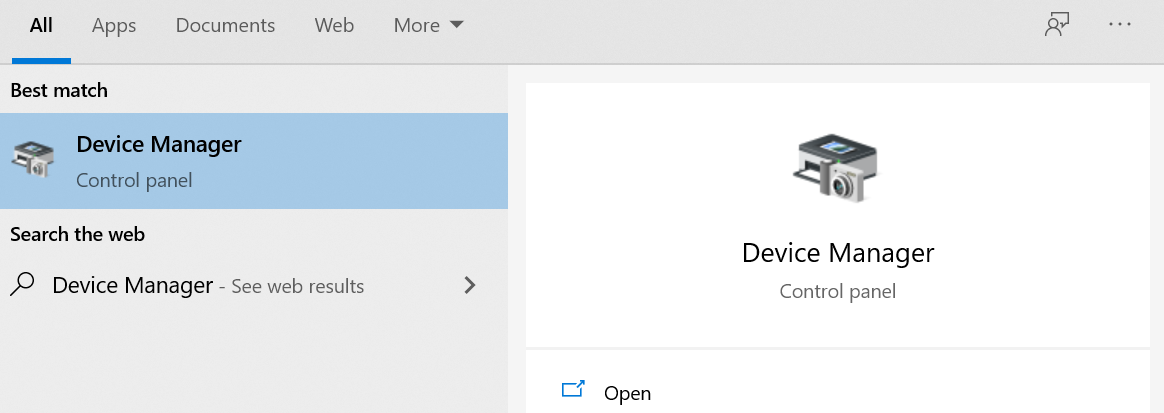
- On your Windows Search Box type Device Manager and click on the first option.

- Double-click on the Display Adapters to expand it.
- Right-click on your NVIDIA graphics card driver and select the Update driver option from the drop-down menu.
- Select the Search automatically for updated driver software option.
- Windows will automatically download and install the latest drivers on your computer.
- Once the drivers are completely installed Restart your computer.
- Now, hopefully you should get the NVIDIA Control Panel. If this method didn’t help you follow the next method.
Method 5: Reinstall the the NVIDIA Graphics Driver
If updating the NVIDIA Graphics Driver does not help you then you should Reinstall it. Many times Windows is not able to find the latest drivers automatically. In this scenario, you need to manually install the updates.
- Open Device Manager again.
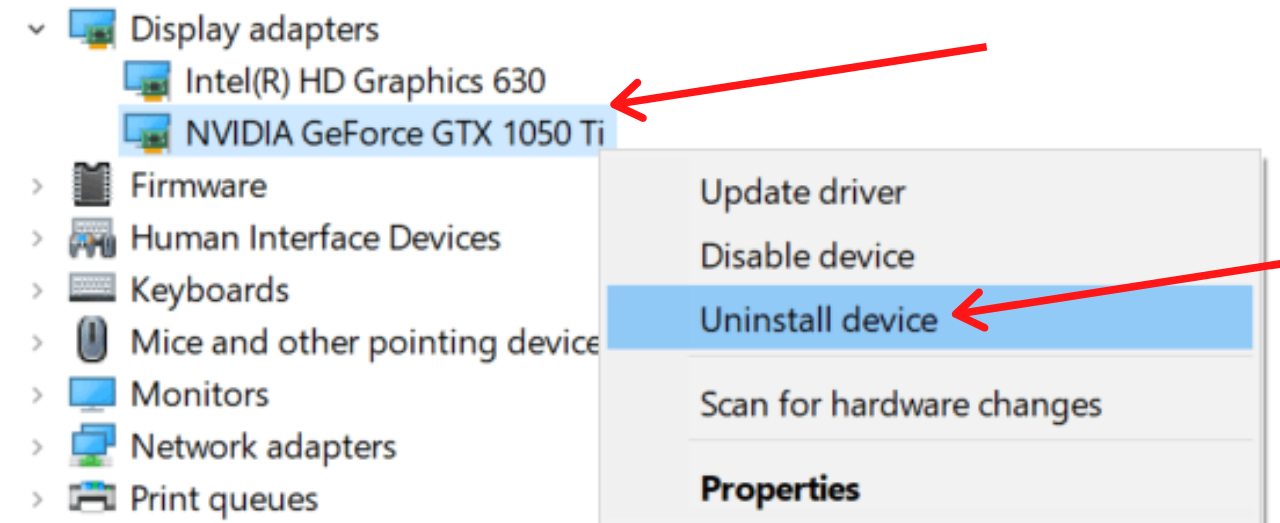
- Double-click on the Display Adapters to expand it.
- Right-click on your NVIDIA graphics card driver and select the Uninstall driver option.

- If you get a confirmation message hit the Uninstall button.
- Once the drivers are uninstalled completely, visit the to NVIDIA Website.
- Choose the correct Product Type, Product Series and give other details.
- Once it is downloaded install it on your computer.
- Finally, Restart your computer and now NVIDIA Control Panel should be available in the Desktop context menu and system tray.
MUST READ – How to Boot Windows in Safe Mode (Windows 10, 8, 7)?
Concluding…
We hope that this article was helpful for you. Follow the methods in chronological order. Method 4 and 5 should definitely help most of you. Do tell us in the comments which method helped you. If you know any other method of resolving this problem write about it in the comments.